How to set up a VPN on Android
Setting up a VPN on your phone is easier than you think.
One of the easiest ways to protect yourself and your privacy while you are using the internet is with a VPN. Filtering traffic and tunneling through an anonymous service isn't something most people can set up themselves, and there are plenty of companies out there who want to do it for you. We've looked at a few of the services and their Android apps, so if you don't already have a VPN subscription that's where you should start.
The next step is getting your VPN set up on your phone, and that's really easy, for the most part. VPN access is built into the network settings on Android, and we'll look at how this native integration works, but most of the time there is a better way: the company's Android app.
Advertisement
We're going to use IPVanish VPN for our example. Once you have an account set up with IPVanish, you'll need to visit Google Play. IPVanish VPN has published its own app, and you can install it like any other.
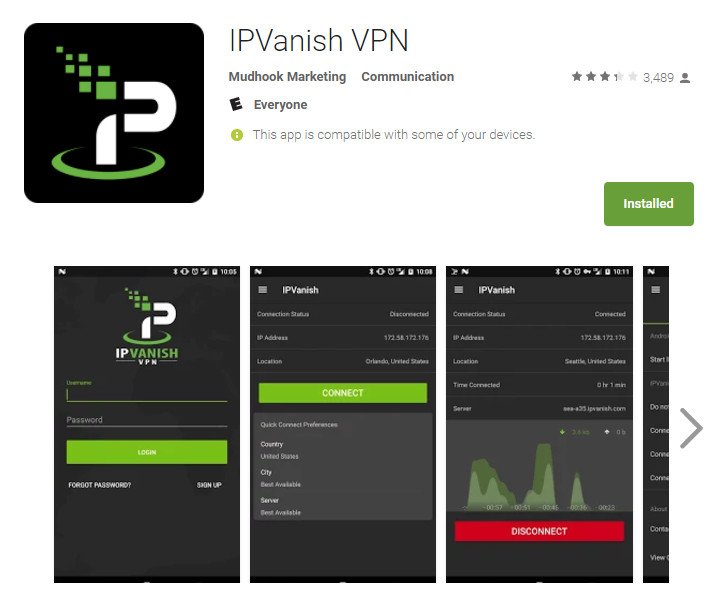
Once installed, open the app and follow the setup instructions. At some point, you'll be asked to provide permission for the app to see your internet activity, and you'll need to say yes for it to work. And that's all there is to it! You can check out the app's settings so you know how to turn it on and off or how to switch servers. The app does all the hard work and you can just use it like any other app on your phone.
If your VPN company doesn't have an Android appThis is a little more complicated, but still easy enough that most anyone can follow along. You'll need to know a few settings that your VPN company will be providing. Everything is pretty standard, and the settings you would need for a computer are the same ones you will need here. Again, we'll use IPVanish as our example.
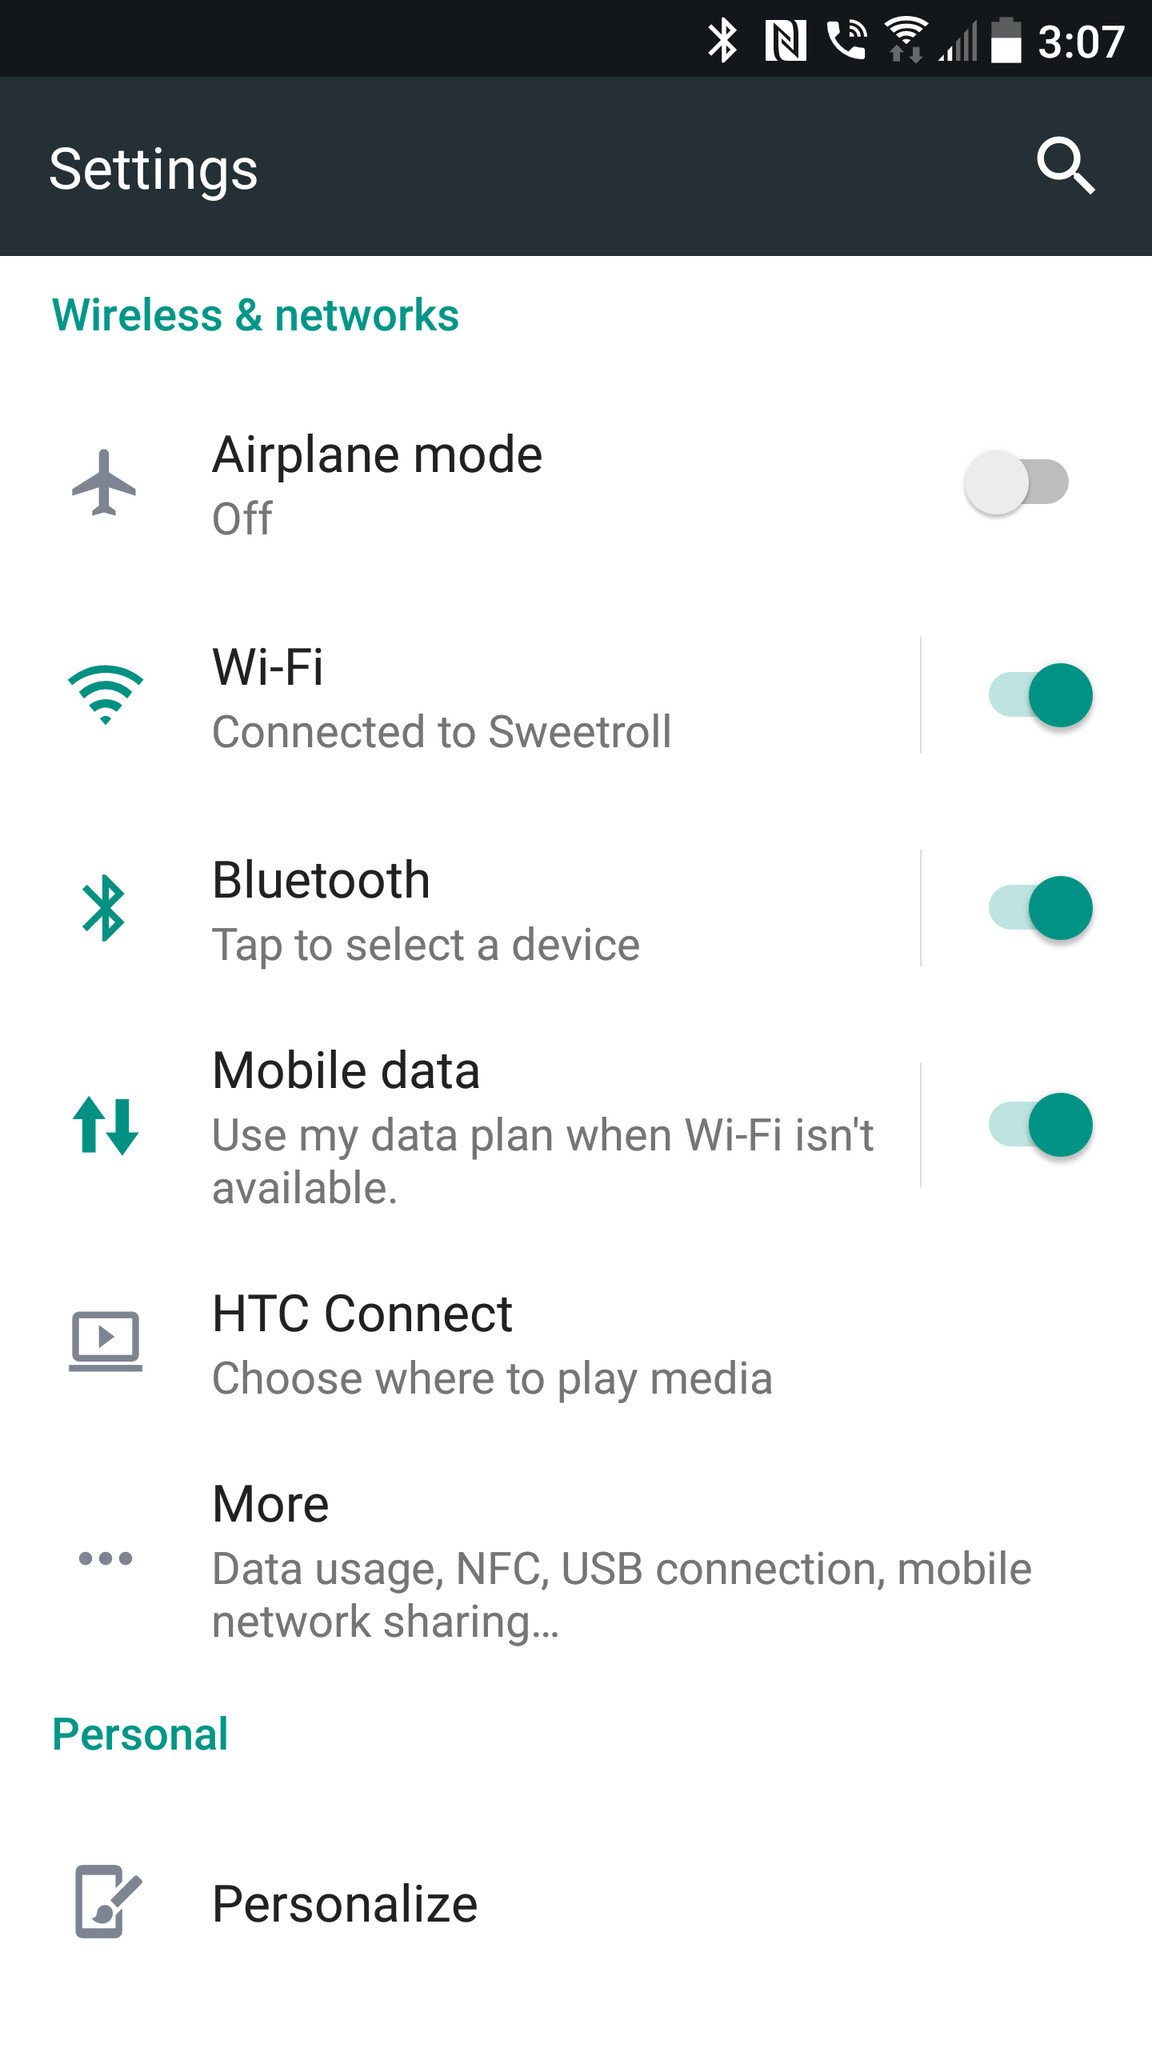
- Open the settings on your phone.
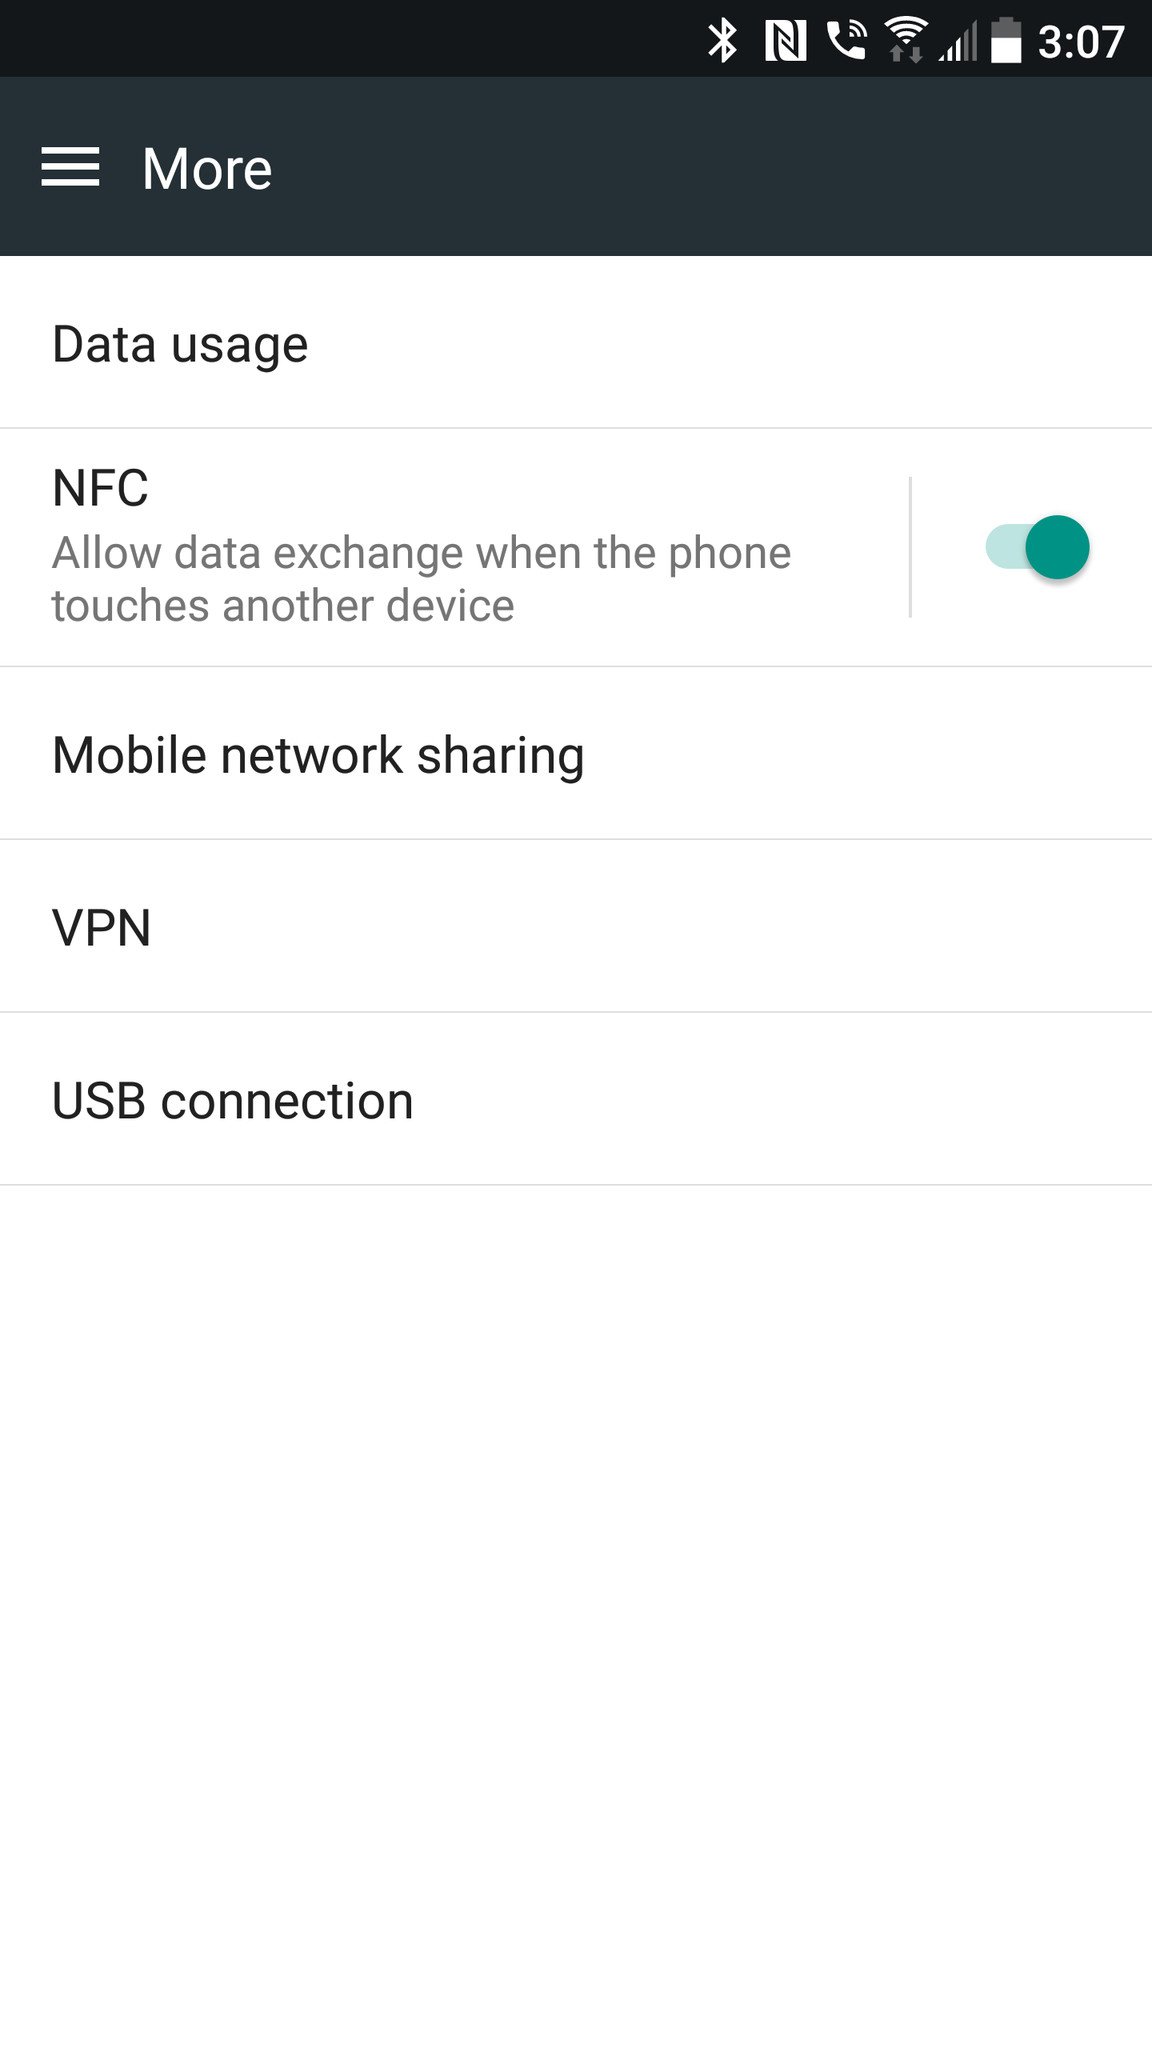
- Under the Wireless & networks section, tap More.
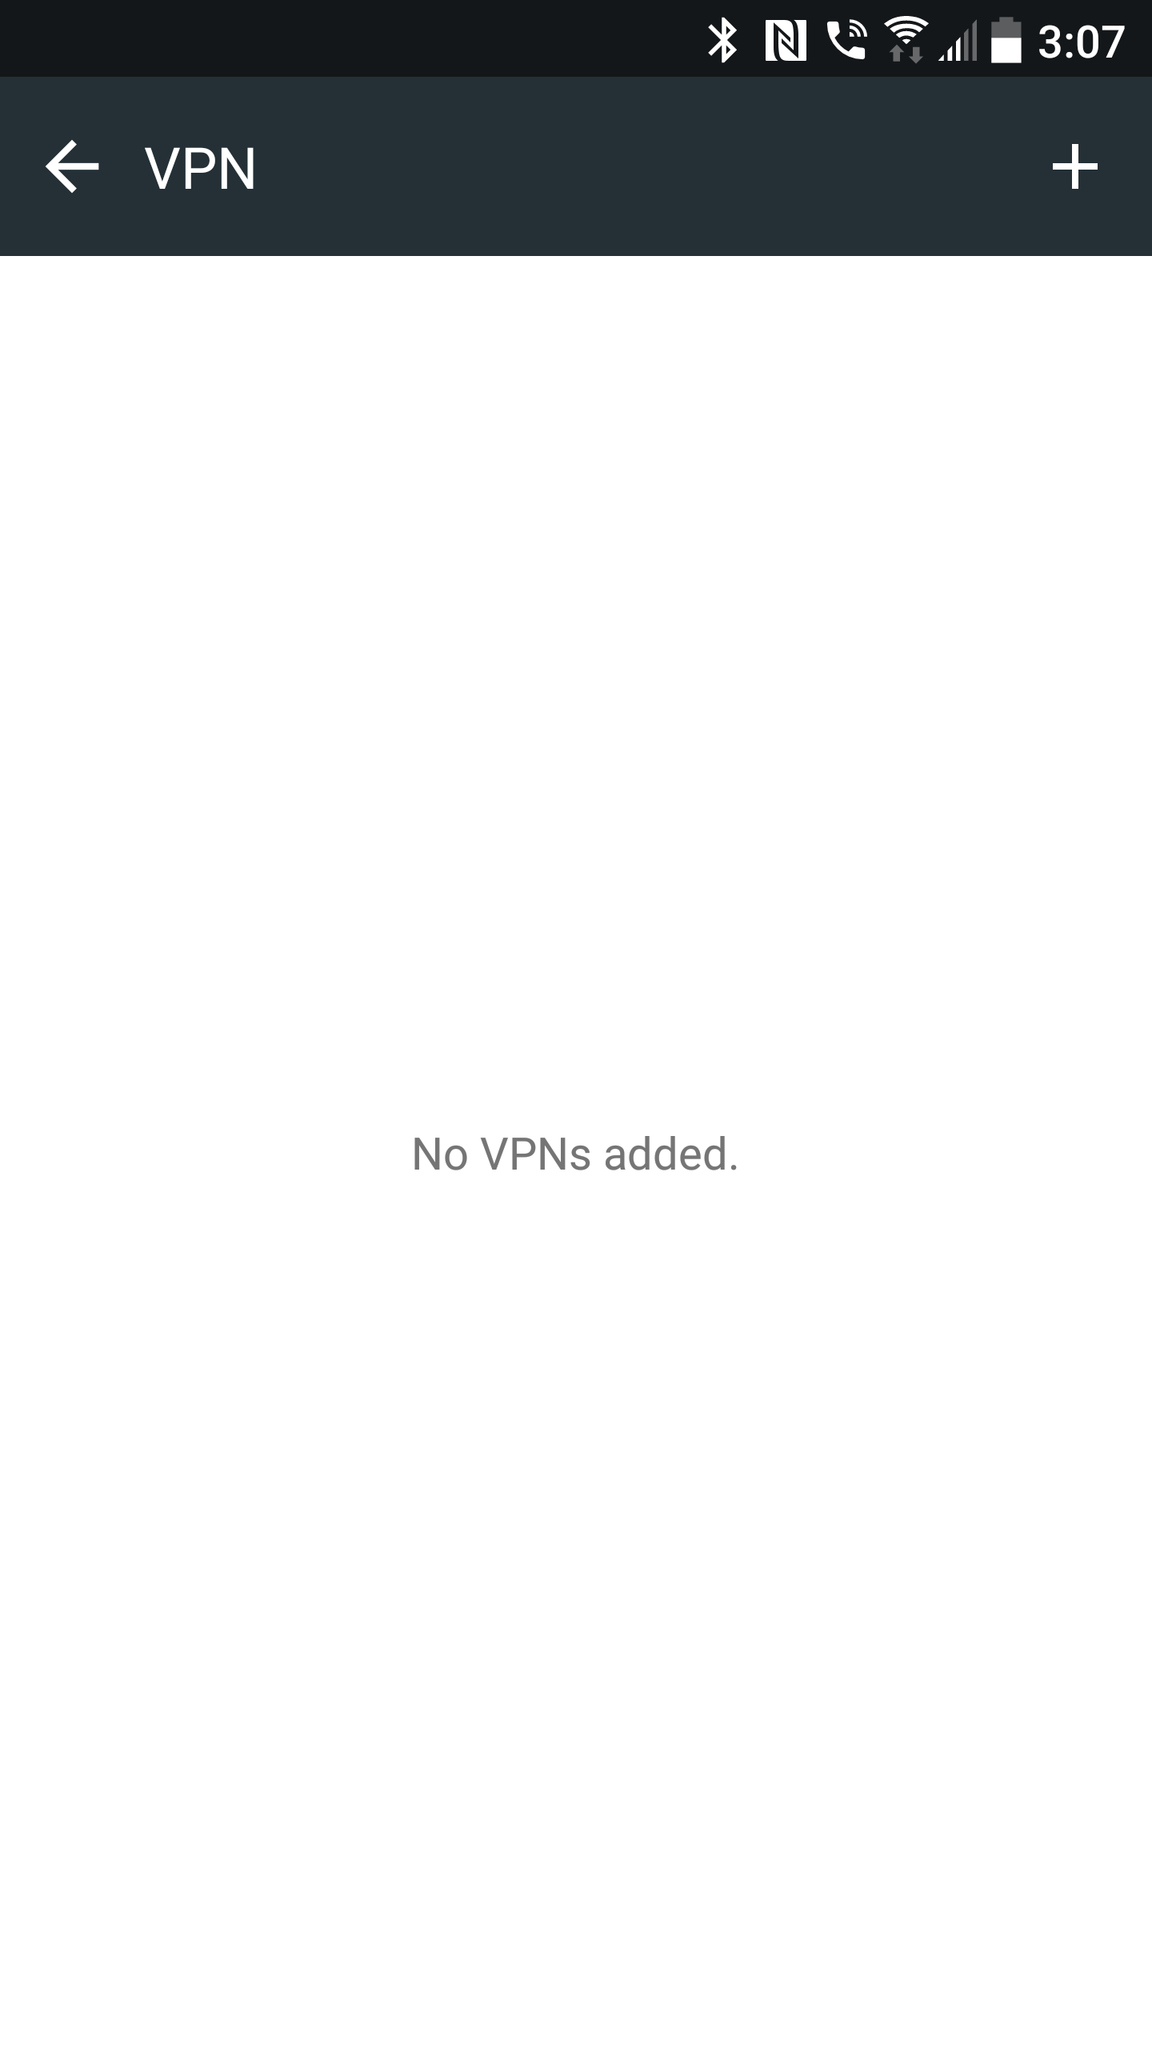
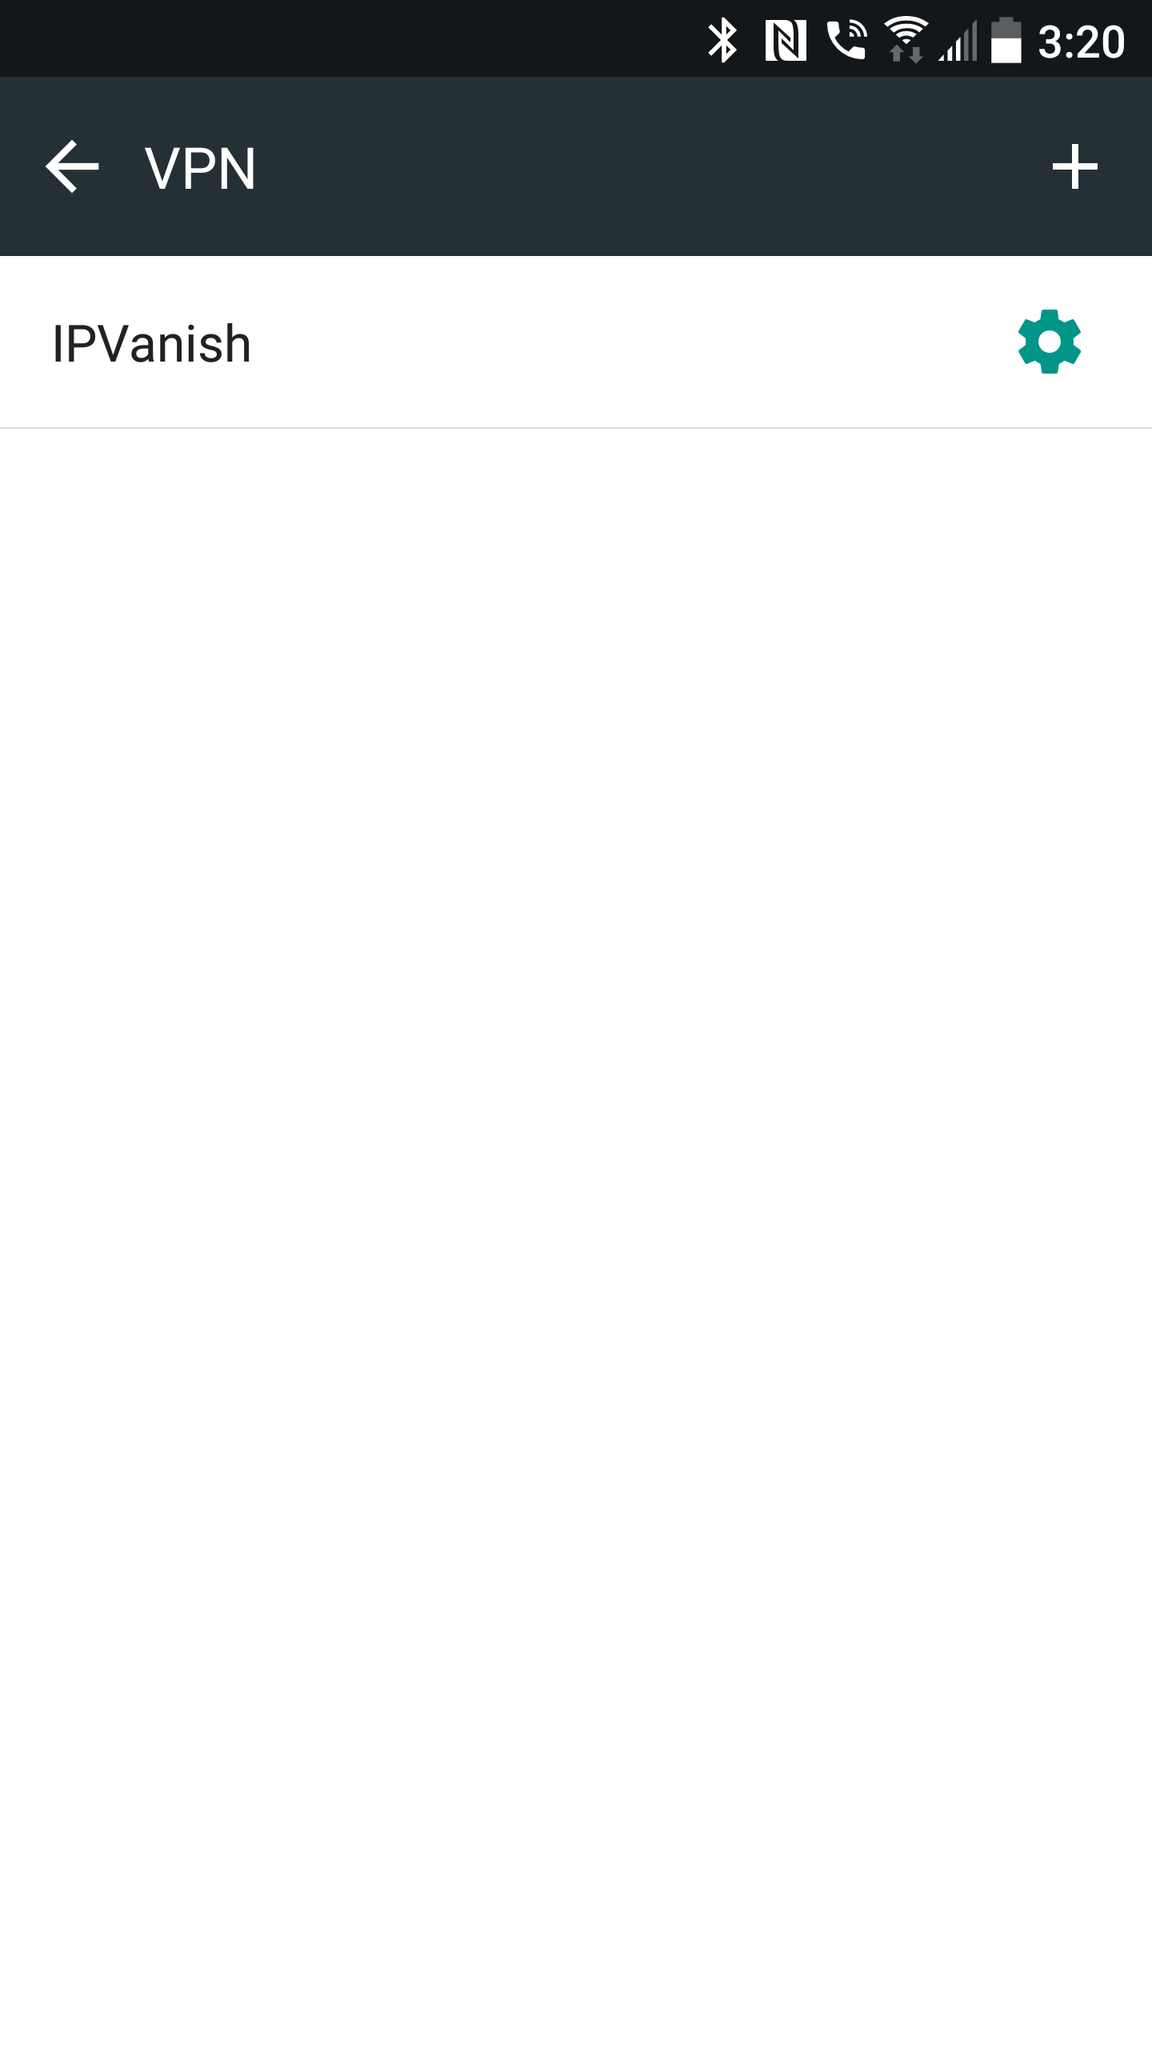
- On the next screen, choose VPN.
- In the upper right corner, tap the + symbol.
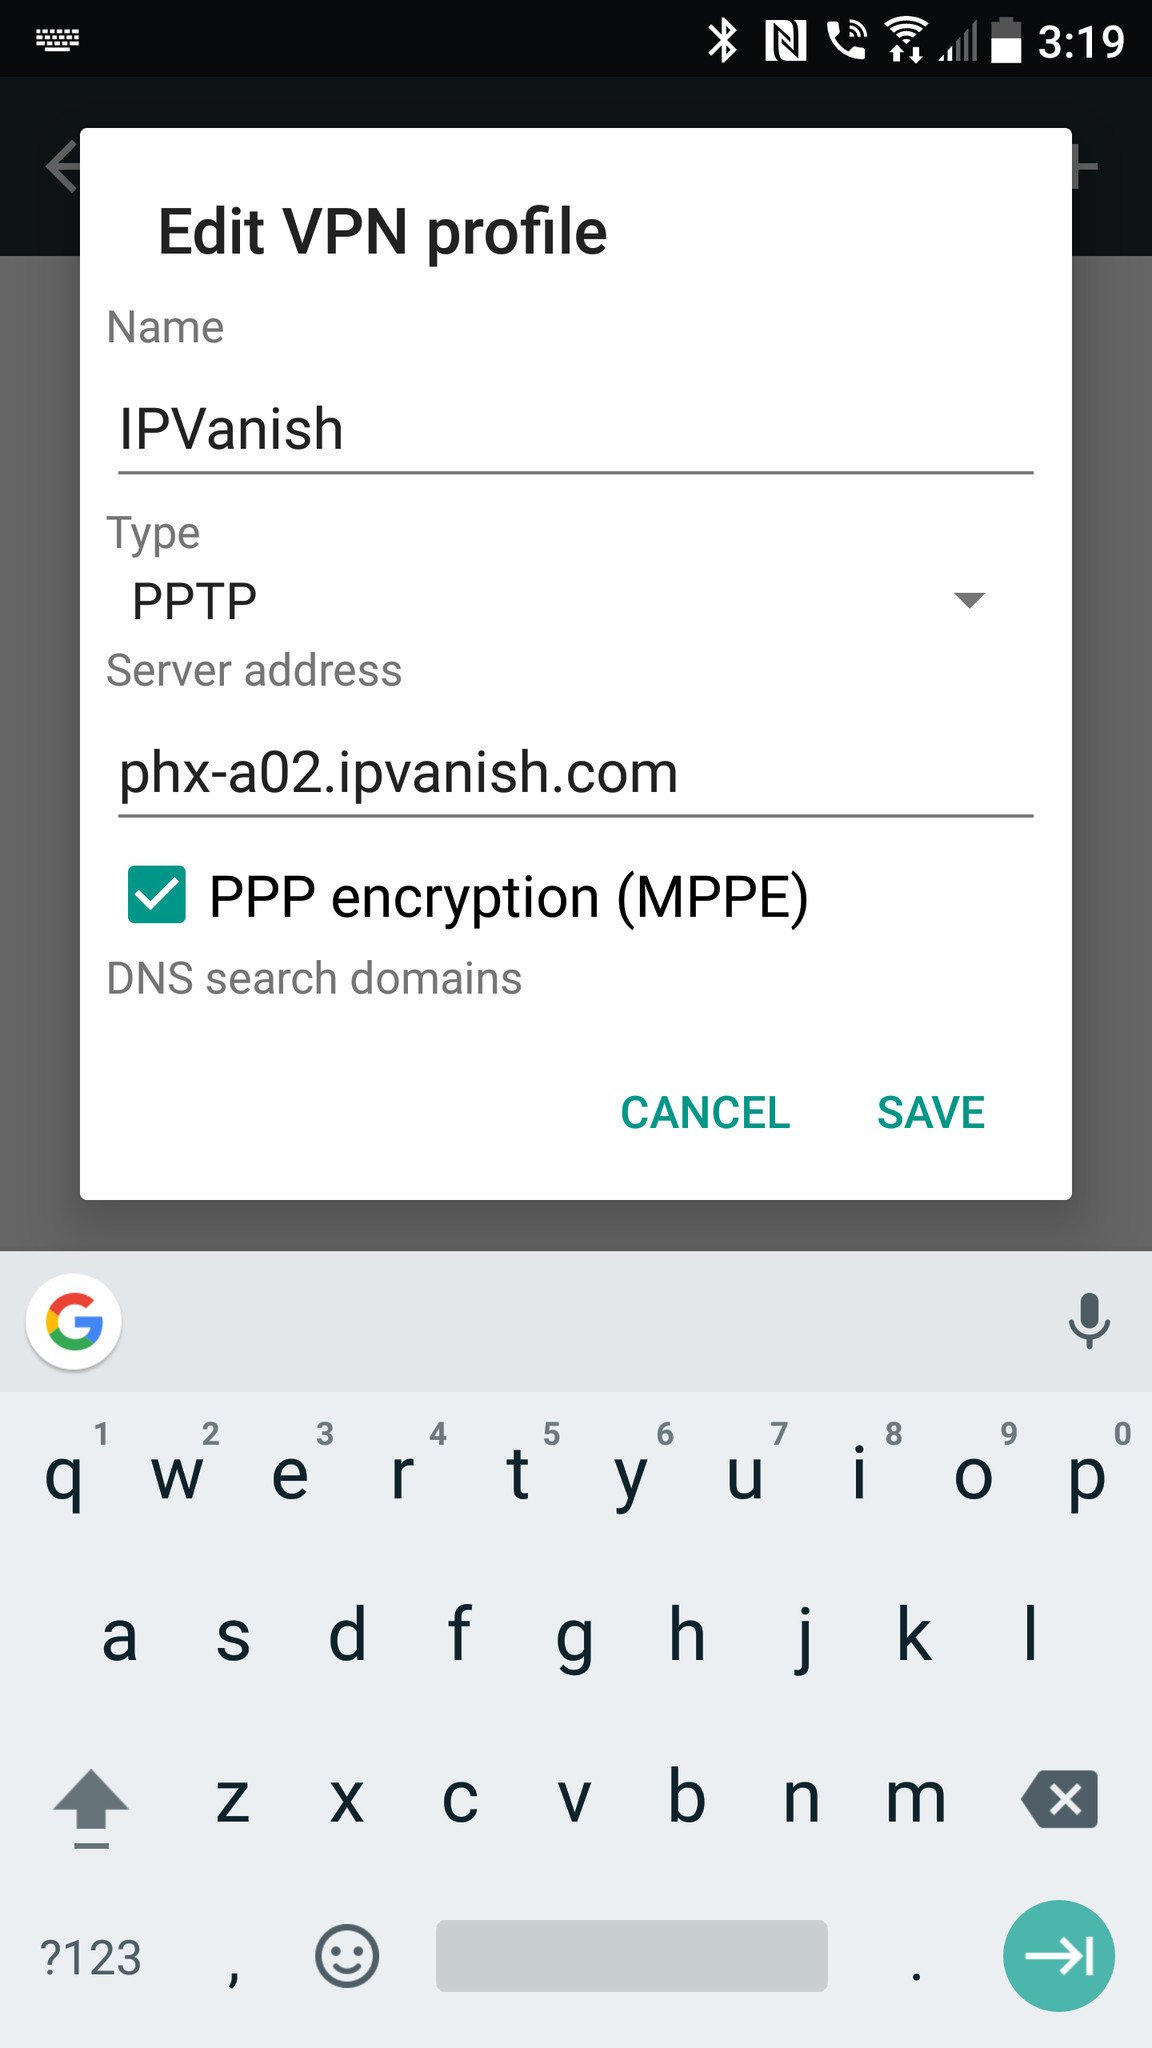
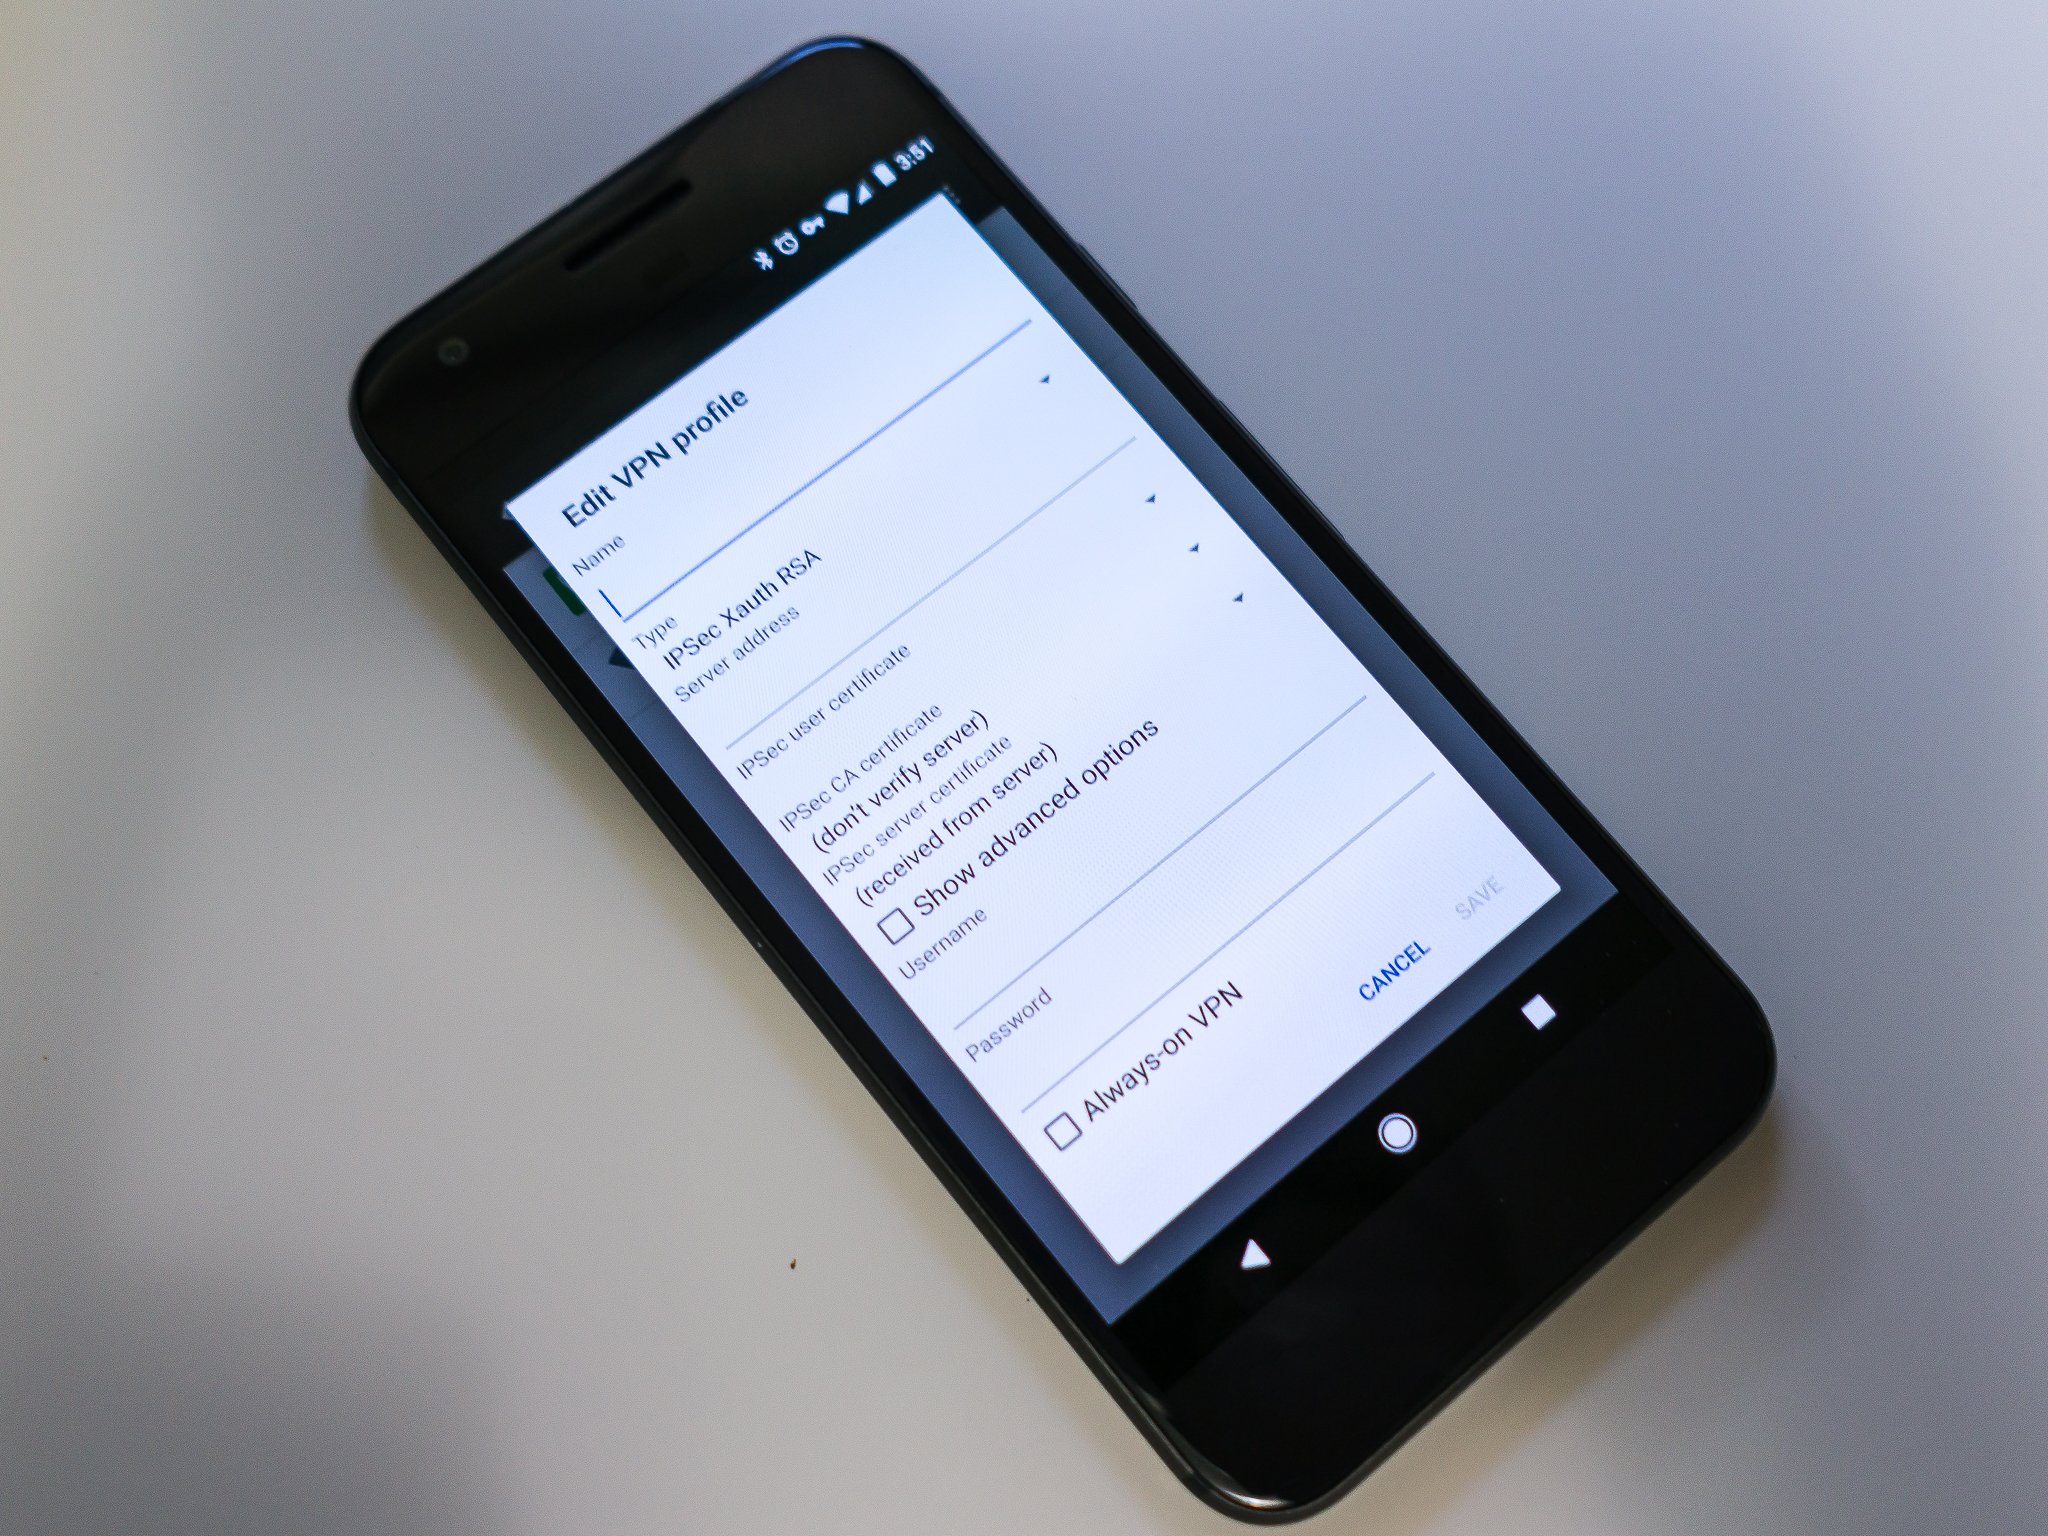
On the screen that opens, you'll need to supply a few settings. These are the settings you'll find at your VPN companies website.
- Name: Give your VPN connection a name.
- Type: Choose the connection type. Your VPN company will tell you what to use here, and IPVanish allows us to set up a PPTP (Point-to-Point Tunneling Protocol) or an L2TP (Layer 2 Tunneling Protocol) connection. Be sure to read any documentation from your VPN company if you need help deciding which connection type to use.
- Server address: You'll need to enter the server address provided by your VPN company here.
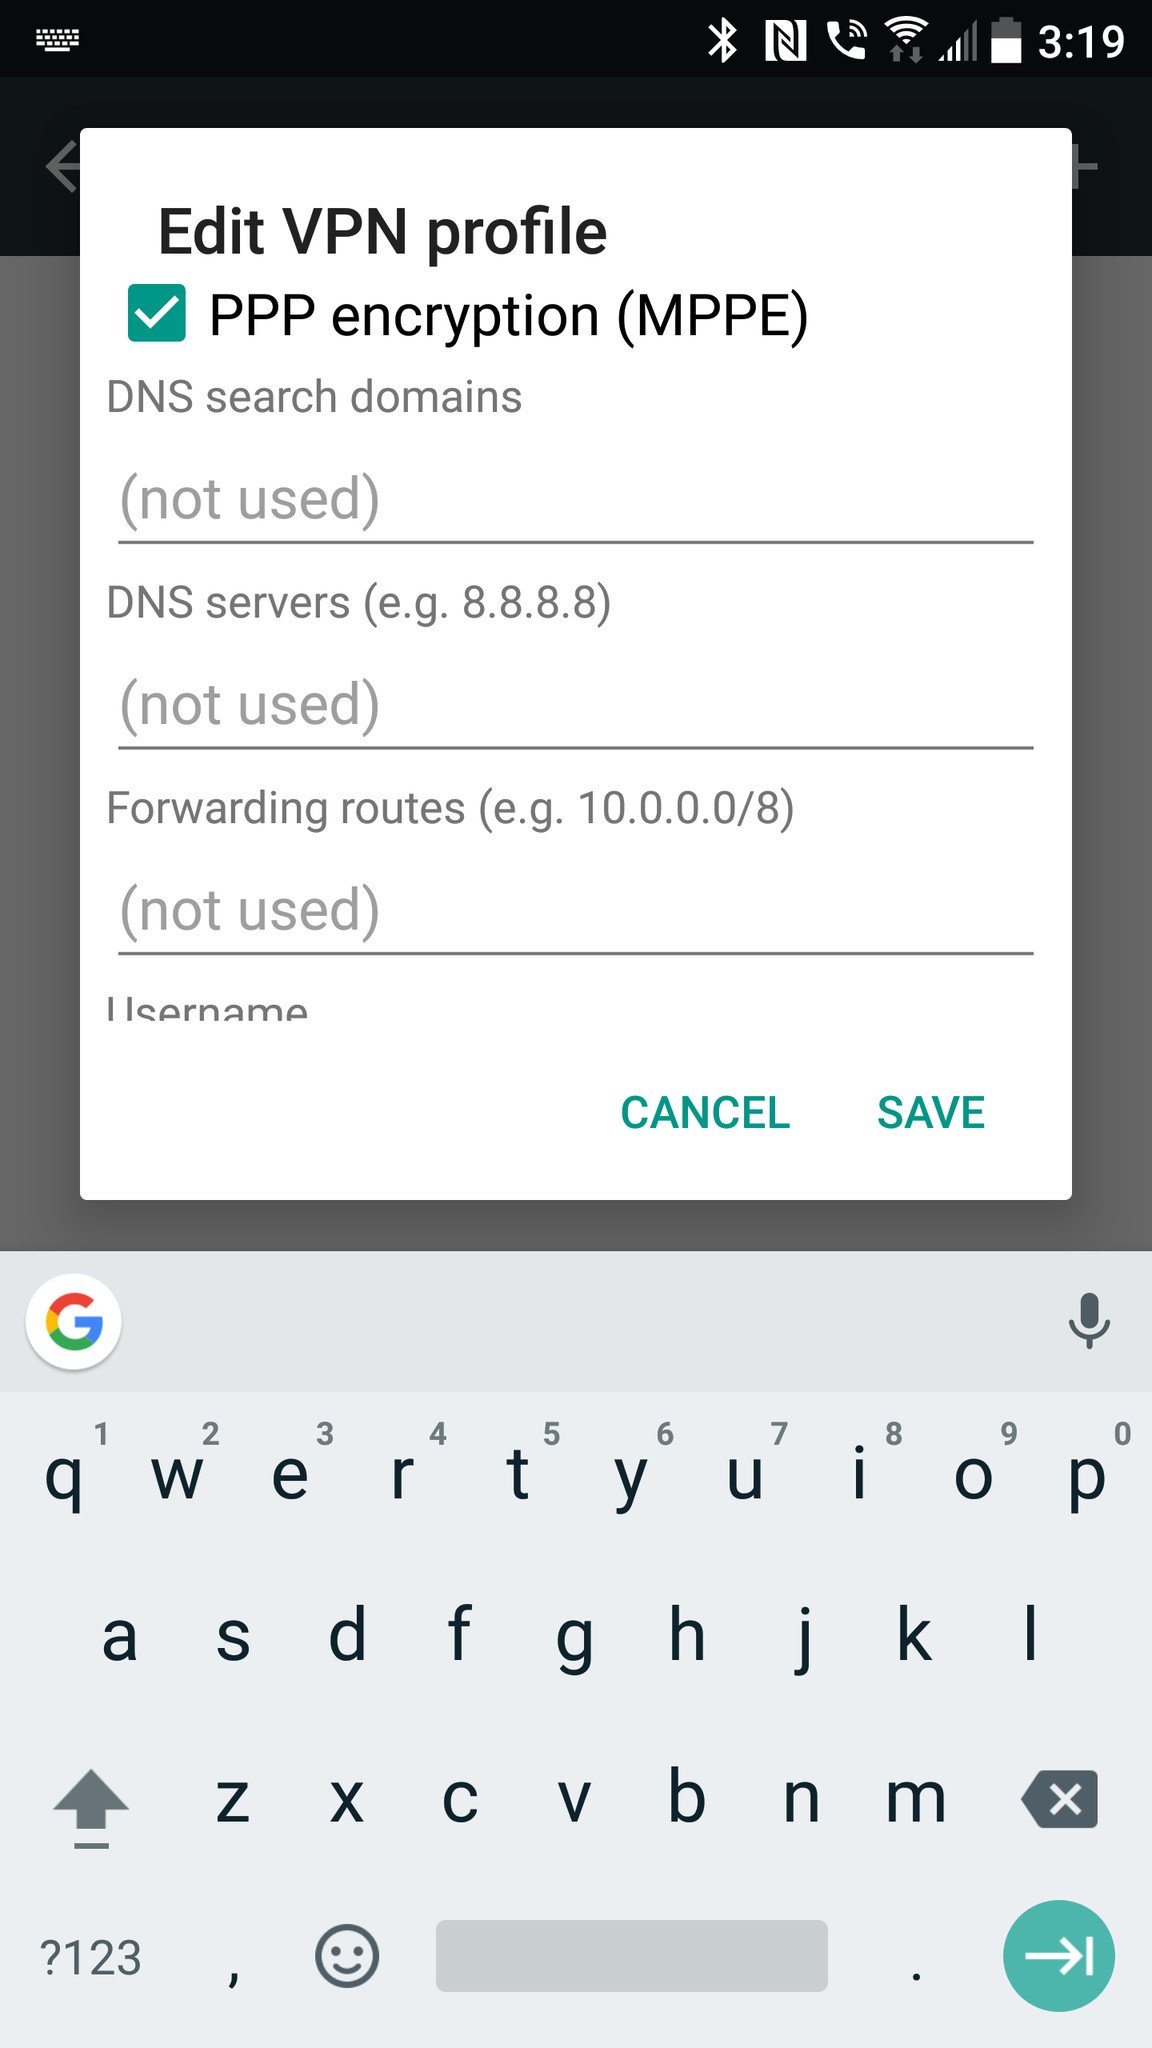
- DNS settings: DNS search domains and DNS servers are also provided by your VPN company if they are needed. They probably aren't - see the documentation - but if they are required, this is where you enter them.
- Forwarding routes: Again, you probably won't need to enter anything here. If you do, it will be in the documentation your VPN company provides.
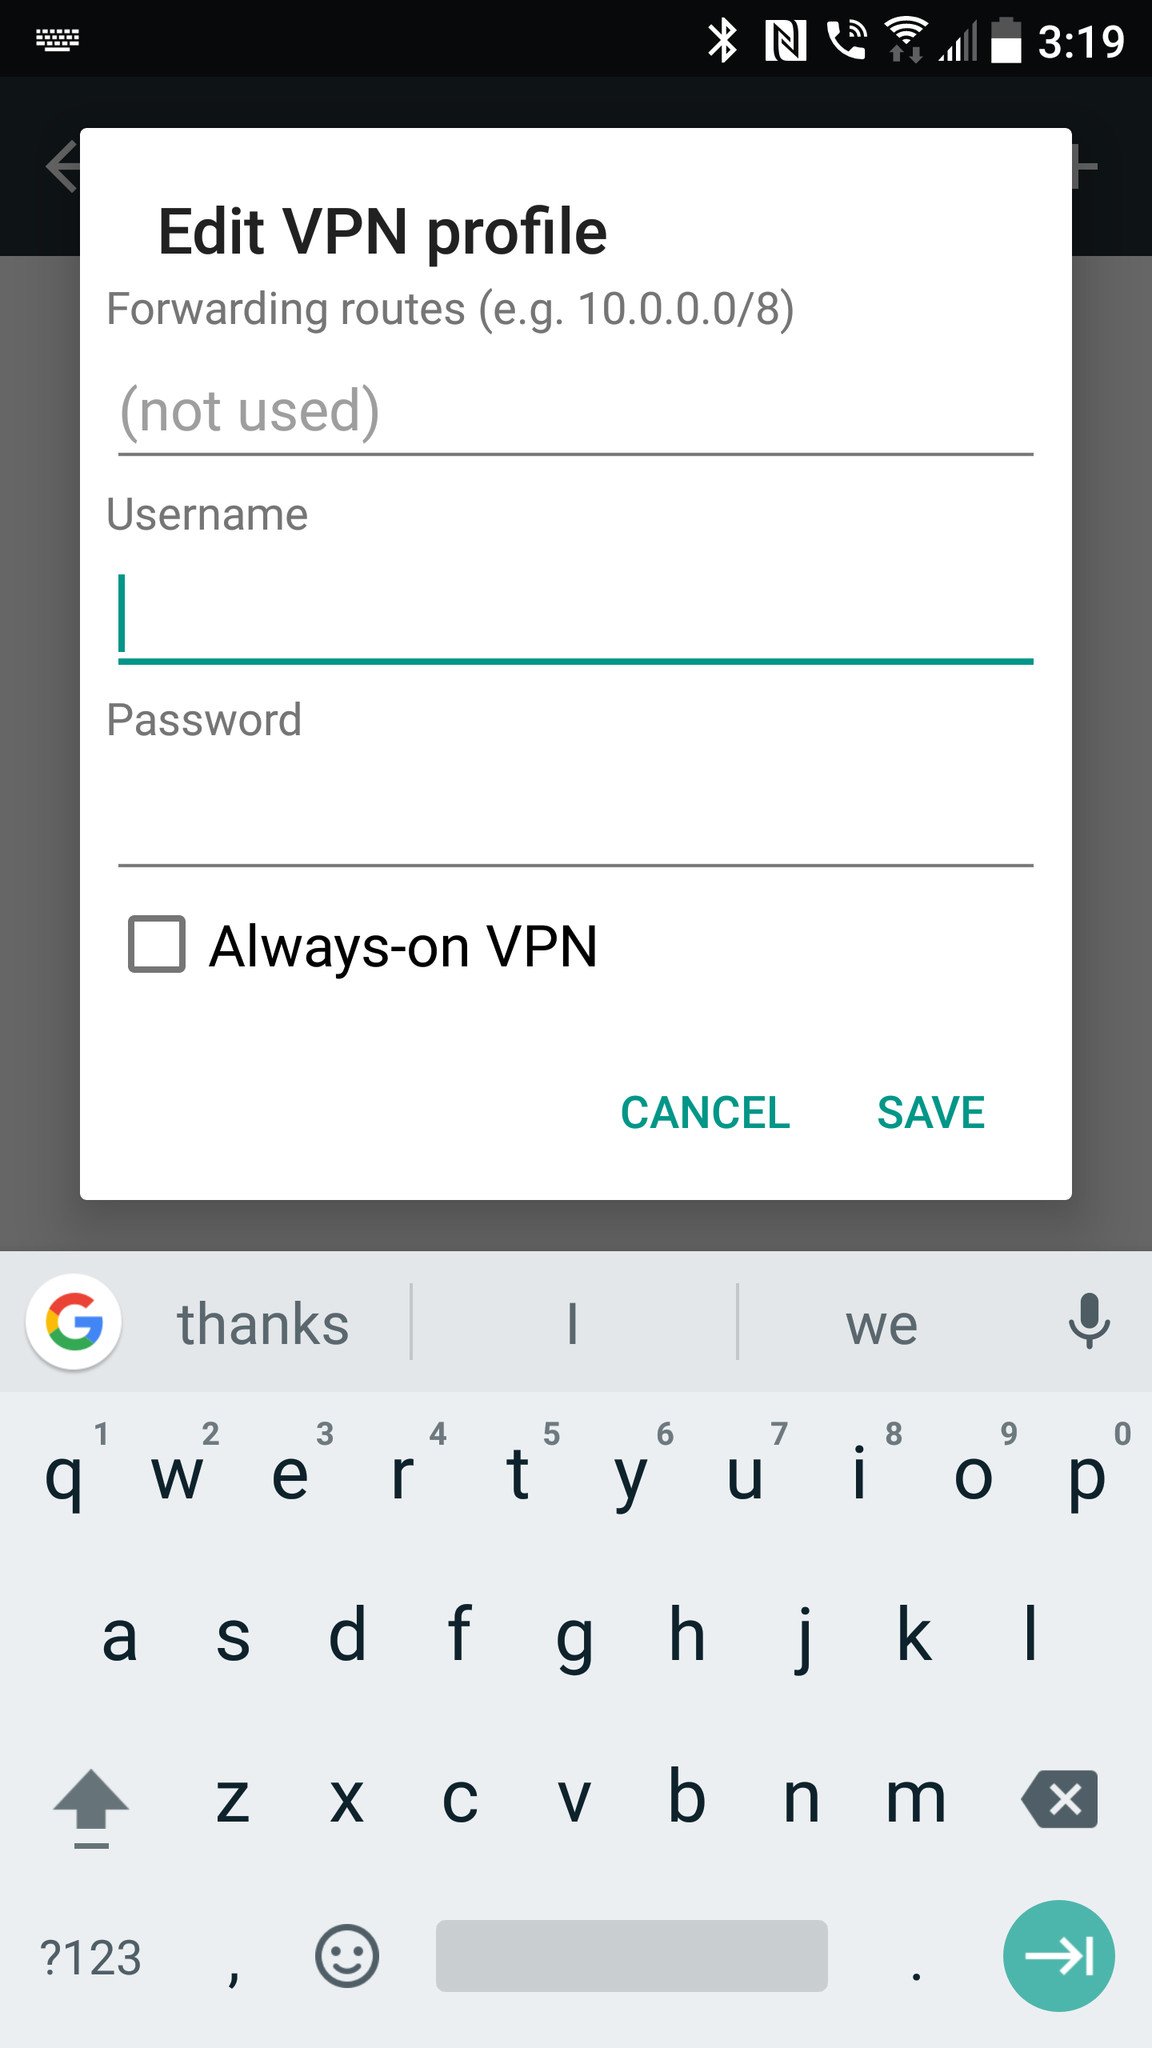
- Username and Password: Your phone might have these entries here, or they might be in the next step. Use the login provided by your VPN company in either case.
- If your phone has a setting for Always-on VPN here, checking it keeps the VPN active at all times.
- Once done entering these settings, tap Save.
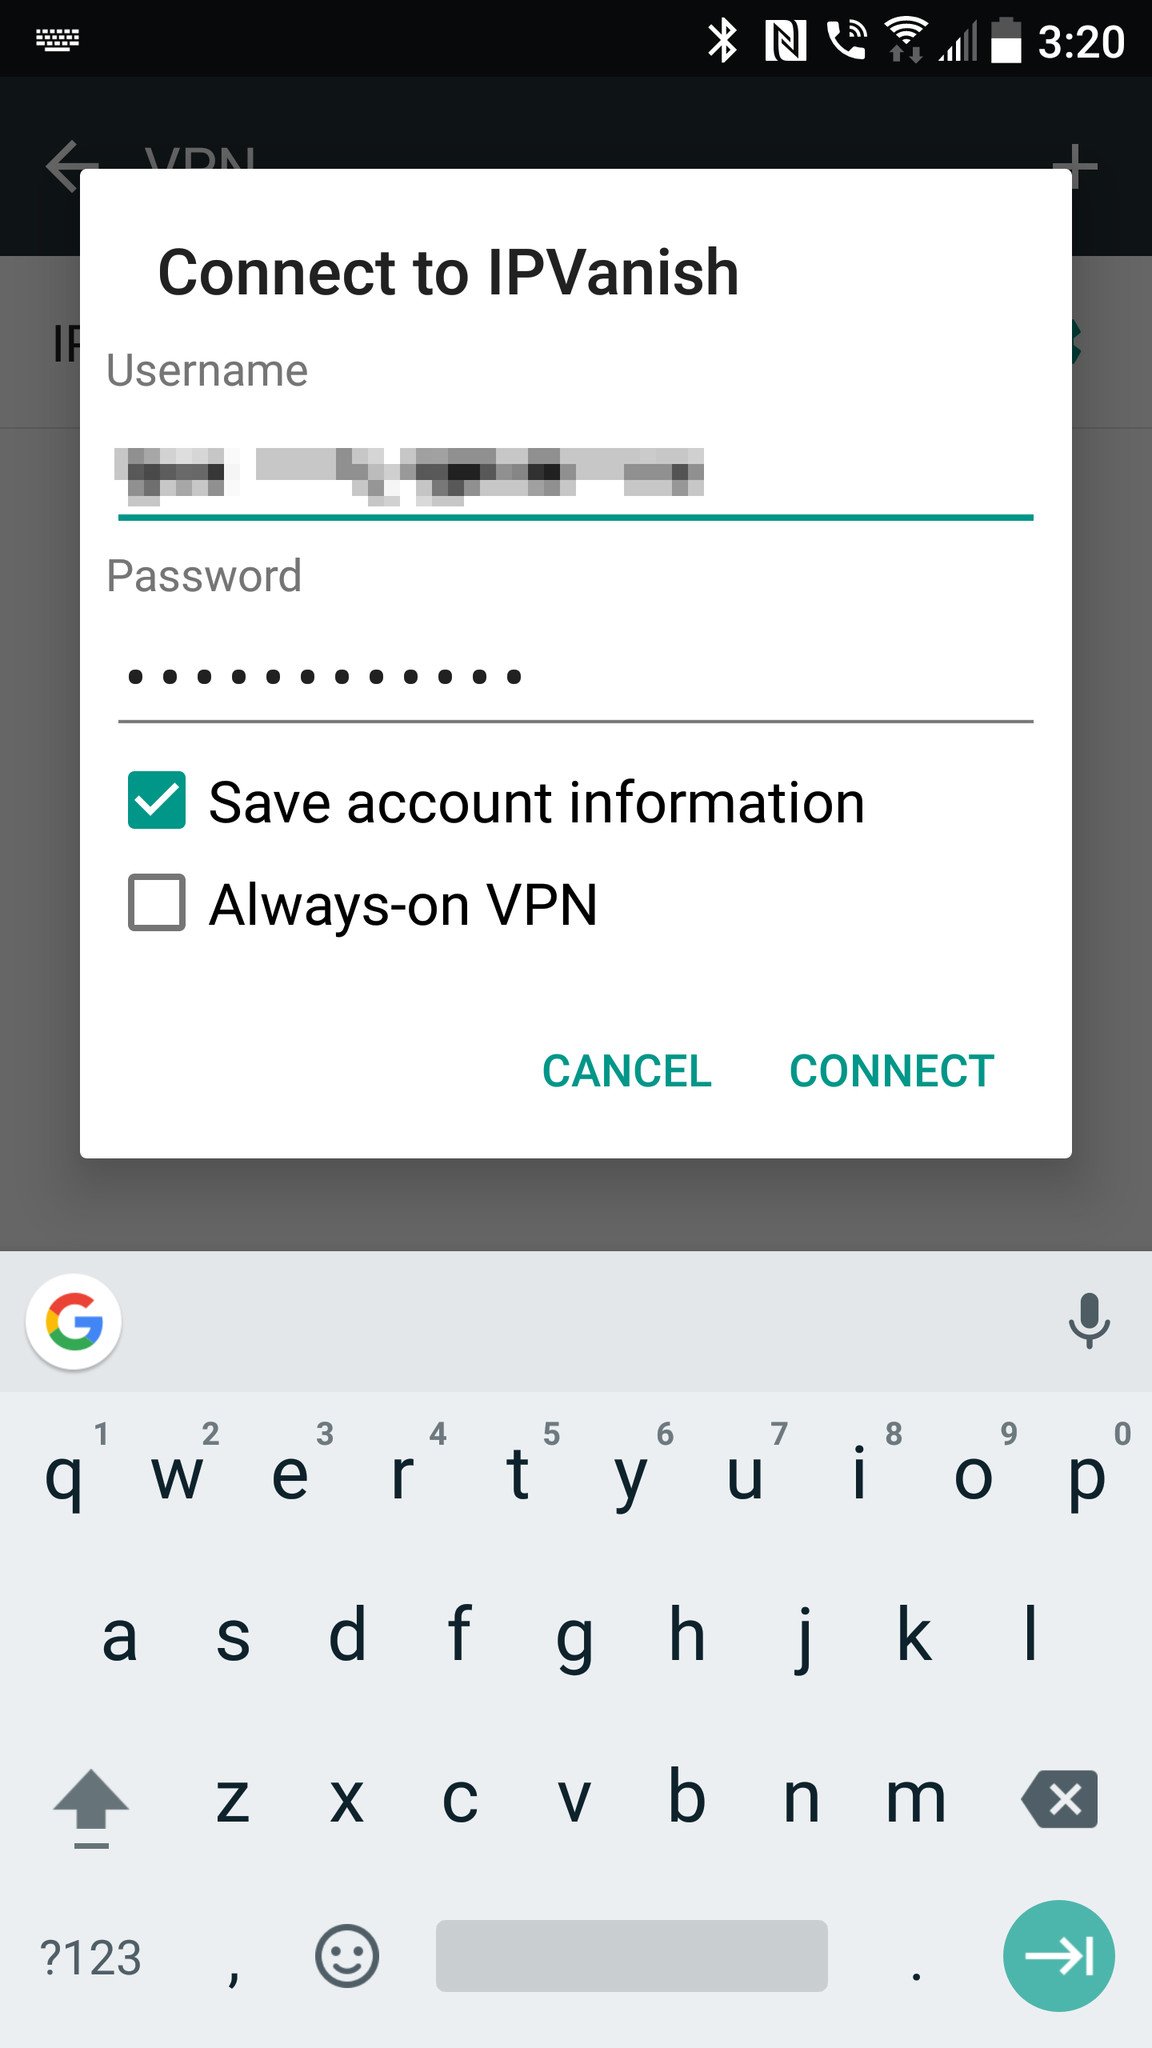
- If you didn't have a section to fill in your user name and password earlier, a window will open asking you to connect to your new VPN entry. Use the user name and password provided by your VPN company.
- Tap Connect to save your login and start the connection.
If you go back to the VPN connections page, you'll see the entry you just created. Tapping on it starts or stops the VPN connection.
AdvertisementYour new VPN works with all data on your phone - web browsers and other apps. If your VPN has a data cap, you'll need to be mindful of when it's turned on. You can tell when the VPN is active by looking for a key icon in your status bar. You can add as many VPNs as you like this way, but only one can be active at a time.
Hopefully, you'll be able to use these instructions and be safer online with your new VPN!
Updated September 2017 for Android Oreo compatibility.