How to transfer your photos from Google Photos to Synology Photos
Synology Photos is the obvious choice if you're looking for a self-hosted Google Photos alternative.
Over the course of the last five years, Google Photos has become the de facto solution for backing up photos and videos on Android. It came pre-installed on all Android phones and offered unlimited photo and video uploads at high quality. While Google optimized the images to bring down the file size, there wasn't any noticeable difference in quality from the original photos.
But with Photos no longer offering unlimited photo uploads, there has been a renewed interest in seeking out other options. We've rounded up the best Google Photos alternatives, and while there are plenty of online services available, I went with the self-hosted option.
I already talked about how a NAS is the best offline Google Photos alternative as it seamlessly backs up your photos and videos and ensures you have full control over your data. Of course, you will need a network-attached storage enclosure to use Synology Photos, so hit up the best home NAS roundup if you're looking for recommendations.
Synology is the default choice if you're looking for a self-hosted alternative for Google Photos. This guide will highlight how to transfer your photos and videos from Google Photos to Synology Photos. Synology had three different services for managing photos and videos, but with the introduction of its latest OS - DSM 7.0 - it combined all of its offerings into a single solution called Synology Photos.
The service is very similar to Google Photos in that it automatically identifies people in photos, lets you manage albums, and allows you to share your photo libraries with family members with ease. So let's take a look at how to move your photos and videos to the NAS.
How to get your photos out of Google PhotosYou'll need to use Google Takeout to get your photos and videos out of Google Photos. Thankfully, this is about as straightforward as it gets:
- Navigate to photos.google.com.
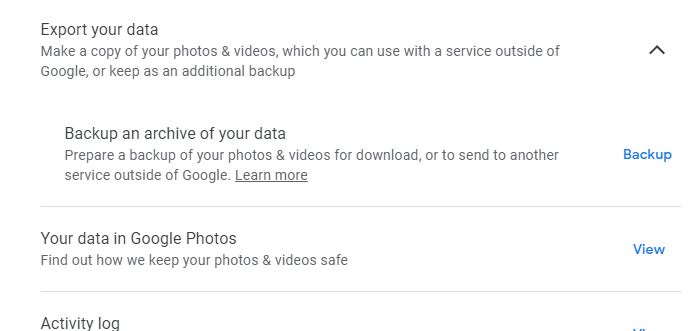
- Select the Gear icon at the top.
Scroll down to the bottom of the page, select Export your data, and choose Backup.
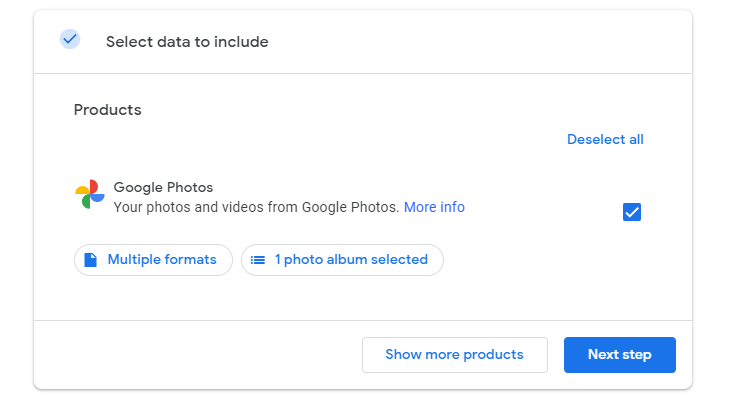
This will launch Google Takeout. The best way to use Takeout is to download all photos and videos from a year at once. Google automatically sorts photos and videos by year into an album, so you can choose individual albums and download all associated data from that year in one go. Select a year and hit OK to continue.
In the Takeout page, hit Next step.
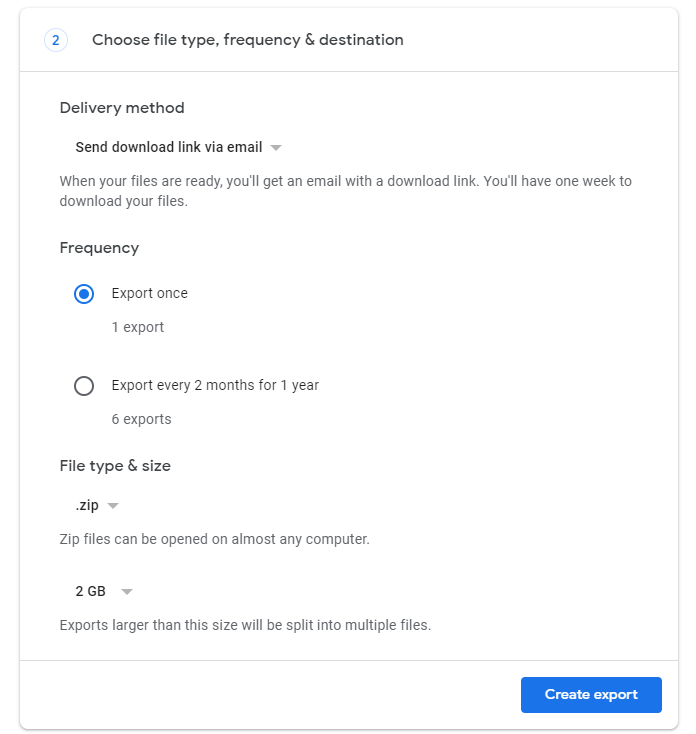
- Here, you can choose how to download the data. Send download link via email is selected by default, and this is the best way to download your data. If the size of your photos and videos for that year is more than 2GB, Google will split the data into multiple .zip files.
Hit Create export to initiate the download. You will get a download link in your email once the archive is built.
In the meantime, you can do the same with albums from other years by following the same flow as outlined above. Based on how many photos and videos you have in Google Photos, it can take several hours to get the download links ready and just as long to download the full archive.
Once the archive is ready, you'll get an email with the subject line, "Your Google data is ready to download," and you can select the Download your files link within the email to initiate the download from Google Takeout.
How to organize your photosOnce the archives have been downloaded to your computer, you will need to organize the photos. Google Photos automatically adds JSON files for each photo, with this file containing the metadata. So once you unzip the archives, you will find all your photos and a corresponding JSON file for each image.
As the photos have their own metadata, you don't need the JSON file when transferring to Synology Photos. So before you start uploading to your NAS, you should delete these files from the archive. To do so within Windows, right-click within the folder, select Sort by type, and delete all the JSON files in one go.
You should be able to do the same within macOS as well. Once the files have been deleted, create a hierarchy for the folders before you start the transfer; I went with Google Takeout as the main folder, with individual years categorized as sub-folders.
How to import your photos into Synology PhotosBefore you transfer the files to your NAS, you will need to do a few things. First, make sure your NAS is running DSM 7.0. If you're not sure, you can follow this guide to see eligible NAS models and install DSM 7.0.
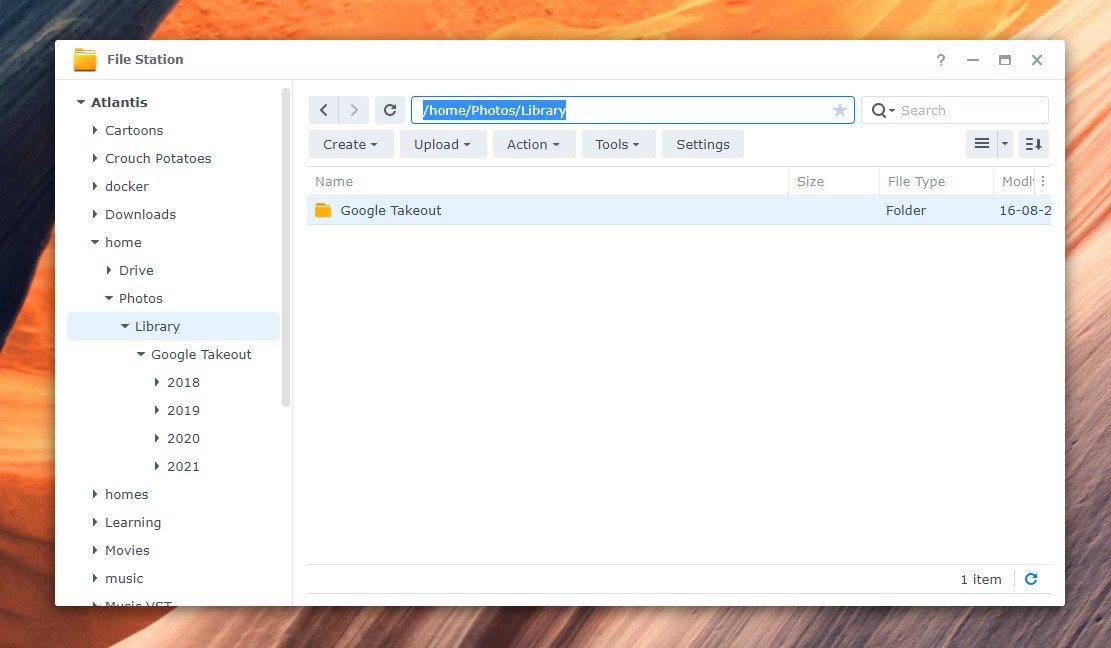
Once you make the switch to DSM 7.0, go to Package Center and install Synology Photos. After it's installed, you can start transferring files over to the NAS. By default, Photos saves files in the home folder, so this is where you should upload your Google Photos data. I put files in Home / Photos / Library. You'll be able to see the folder structure in File Station:
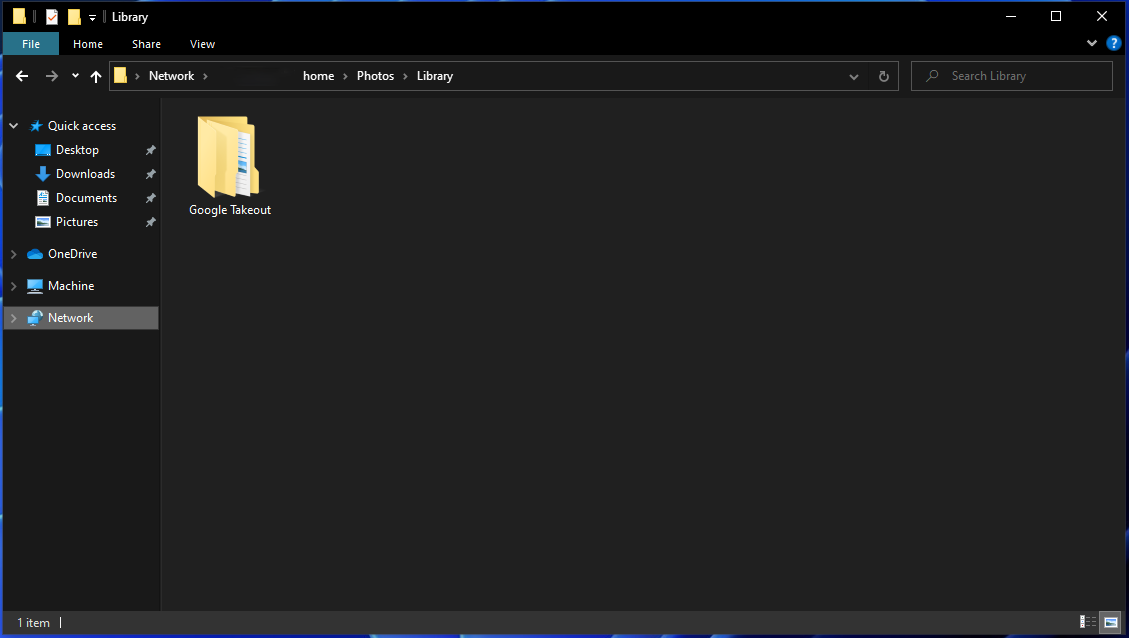
There are several options to upload your Google Photos data to the NAS. The best way to do so is using the network drive option; launch Run by hitting the Windows key and R simultaneously, enter the IP of the NAS, and log in with your credentials. For example, if your NAS IP is 192.168.1.100, you'll have to enter \\192.168.1.100 and log in with your admin account credentials.
Once you log in, you should be able to access the folders on your NAS from Windows Explorer. Then, copy the Google Takeout folder that has all your photos and videos, navigate to home / Photos / Library, and paste the folder here. Based on the size of your photo library, it could take a few hours for the data to transfer to the NAS.
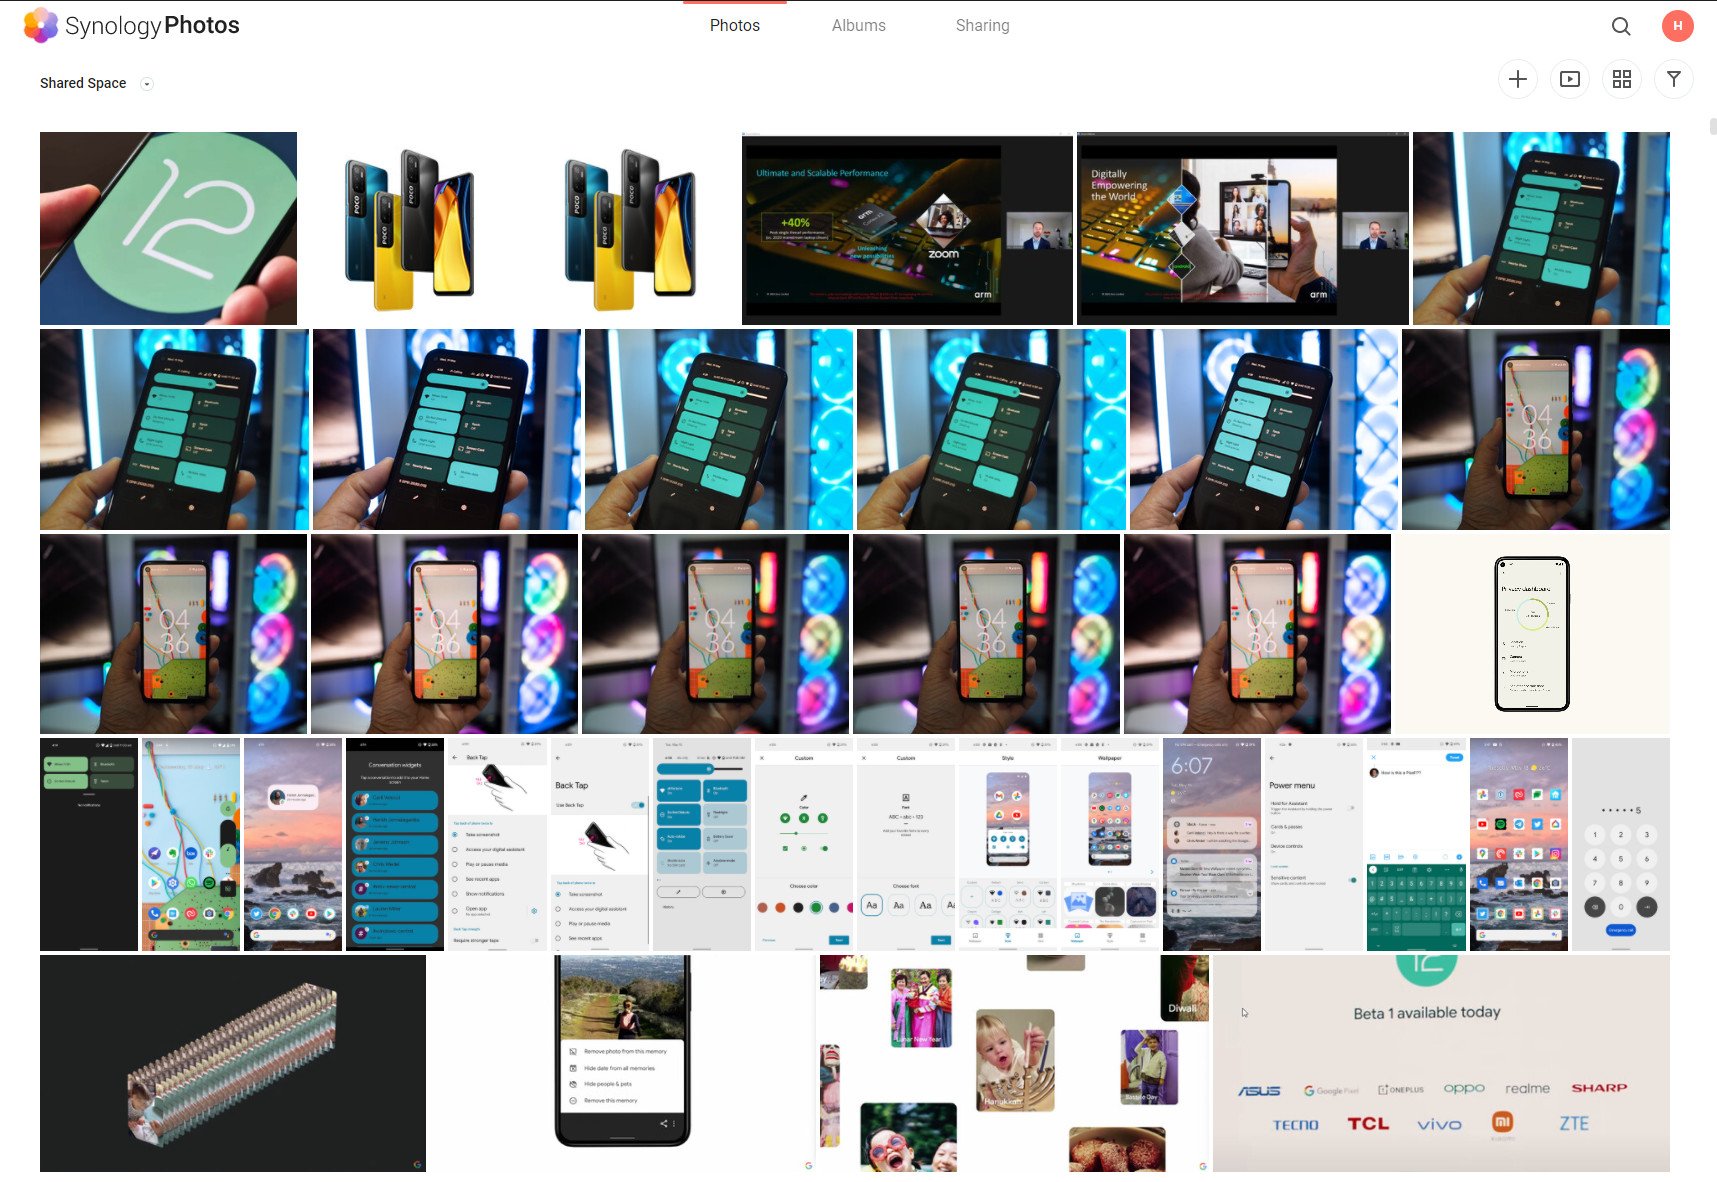
Once the photos are on the NAS, you should be able to view them within Synology Photos. In DSM 7.0, go to the main menu and select Synology Photos; it will launch the Photos service, with your photos sorted by date. The interface is very similar to Google Photos:
Synology Photos is a great alternative to Google PhotosI have over a decade's worth of photos and videos in Google Photos. While I initially backed up data in original quality, I switched to the high-quality tier four years ago. Instead of using Google Photos, I uploaded the full-res photos and videos to Synology's Photo Station. This way, I had the convenience of accessing older data directly from Google Photos, and the full-res files were stored locally on the NAS.
With Synology Photos, we're finally getting a unified photo and video management service that works just as well as Google Photos. And if you're looking to switch away from Google Photos and are looking for an alternative, you should consider getting a NAS and setting up Synology Photos.
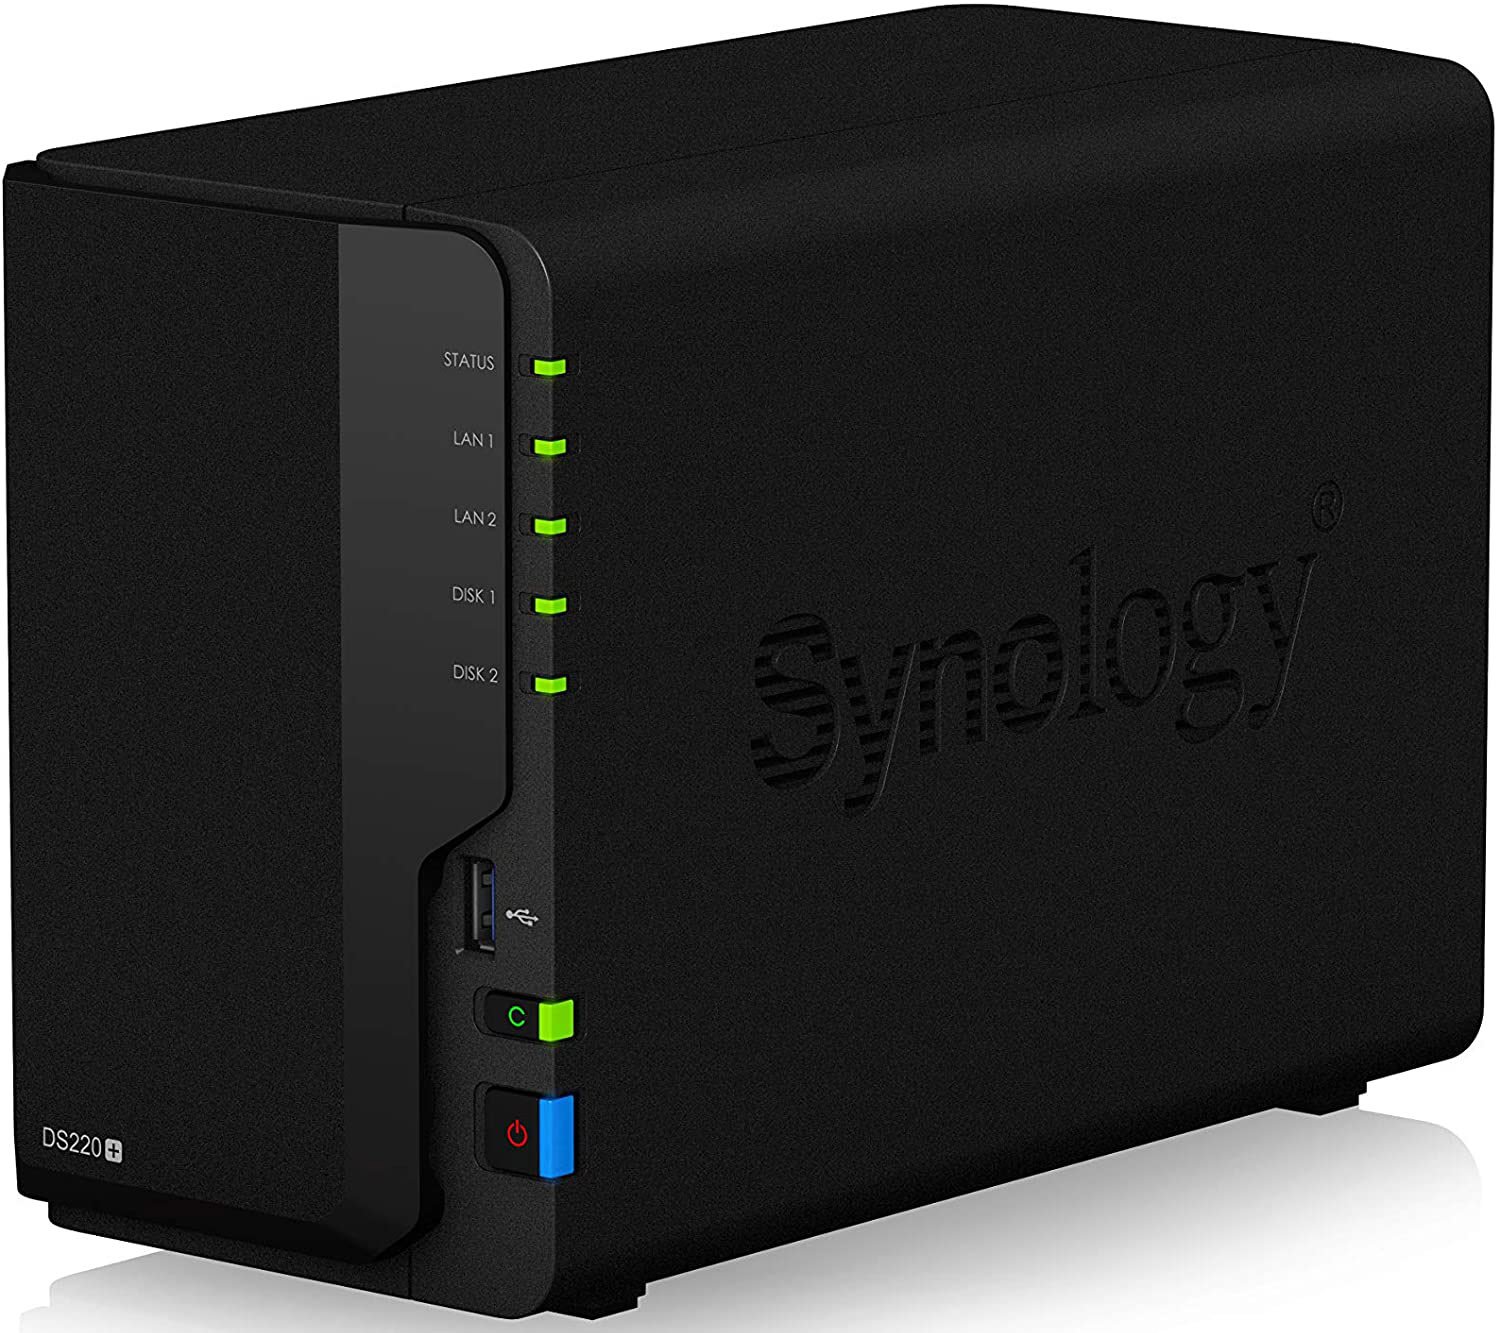
The ideal NAS for homeSynology DiskStation DS220+Safeguard your data
The DiskStation DS220+ makes it extremely convenient to store your photos and videos locally. Synology Photos has a lot of similarities to Google Photos, including the ability to automatically create albums using facial recognition. Then there's the fact that you can use the NAS for so much more: it is great as a Plex media server, you can back up data from all connected devices with ease, and even run your website or host your own mail server.
