How to Stake Electronic Components Using Adhesives

This is a sponsored article brought to you by Master Bond.
Sensitive electronic components and other parts that may be damaged due to vibration, shock, or handling can often benefit from adhesive staking. Staking provides additional mechanical reinforcement to these delicate pieces.
Different components require different methods of staking. Dual inline packages (DIP) and capacitors, for example, will need distinctive staking approaches for the optimal outcome. For the DIP, the goal is to connect the corners of the component to the circuit board while ensuring that the material does not flow under the component.
To achieve this, use a fine tip syringe with a high viscosity compound and apply the adhesive to each the four corners. For a capacitor, there are several options. You can apply the adhesive to the edge of the component, stake at multiple locations, or even apply the material around the entire component.
Watch the video to see the staking methods.
Here, the objective is to attain enhanced stability while making a mechanical connection with the circuit board. After the material is applied, it must be cured according to the instructions on the technical data sheet.
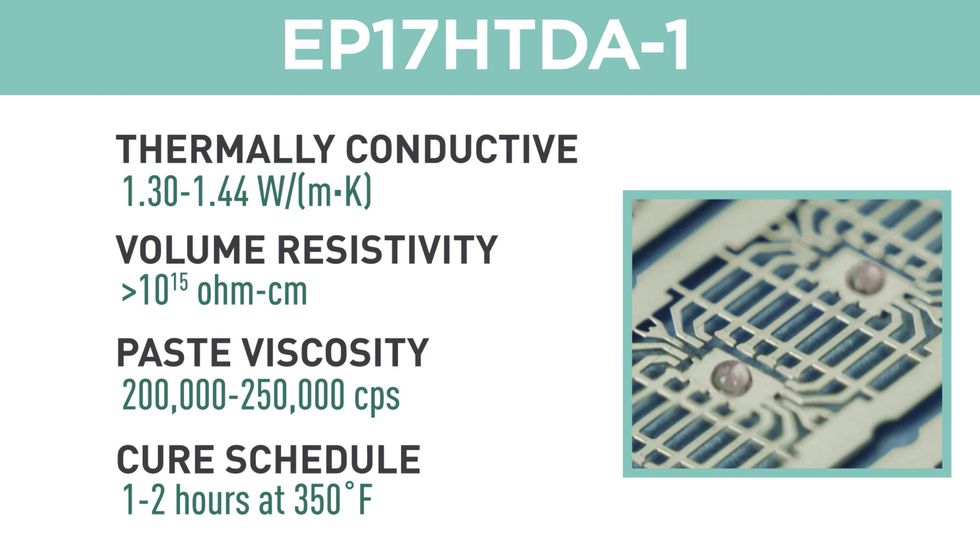
To demonstrate these staking methods, Master Bond used one part epoxy system EP17HTDA-1. EP17HTDA-1 is a thermally conductive, electrically insulative material featuring a paste viscosity. It is a no mix system that cures in as little as one to two hours at 350 F, with minimal shrinkage. Its consistency is ideal for die attach applications.

Other notable properties include high temperature resistance up to +600 F, excellent chemical resistance, NASA low outgassing, and MIL-STD-883J Section 3.5.2 for thermal stability.
Learn more about adhesive staking and how it can improve your applications.