How to take a screenshot on an Amazon Fire Tablet
Though Amazon may be one of the first places that many people think of when it comes to online shopping, it also happens to make some of the best Android tablets on the market today. The Amazon Fire lineup of tablets offers a variety of use cases, from casual content consumption on the Fire HD 8 to productivity on the Fire HD 10. Whichever tablet you use, there may come a time where you want to take a screenshot on an Amazon Fire tablet. Well, not to worry, we have you covered.
How to take a screenshot on an Amazon Fire tabletTaking a screenshot is much like it is on popular Android phones like the ones from Samsung. The process is relatively straightforward, and here are the steps to help you take a screenshot on your Amazon Fire tablet.
- Go to the screen, app, or webpage you want to capture.
- Press and hold the physical volume down and power button at the same time.
- You'll see an animation on the screen and hear a sound to confirm the screenshot was taken.
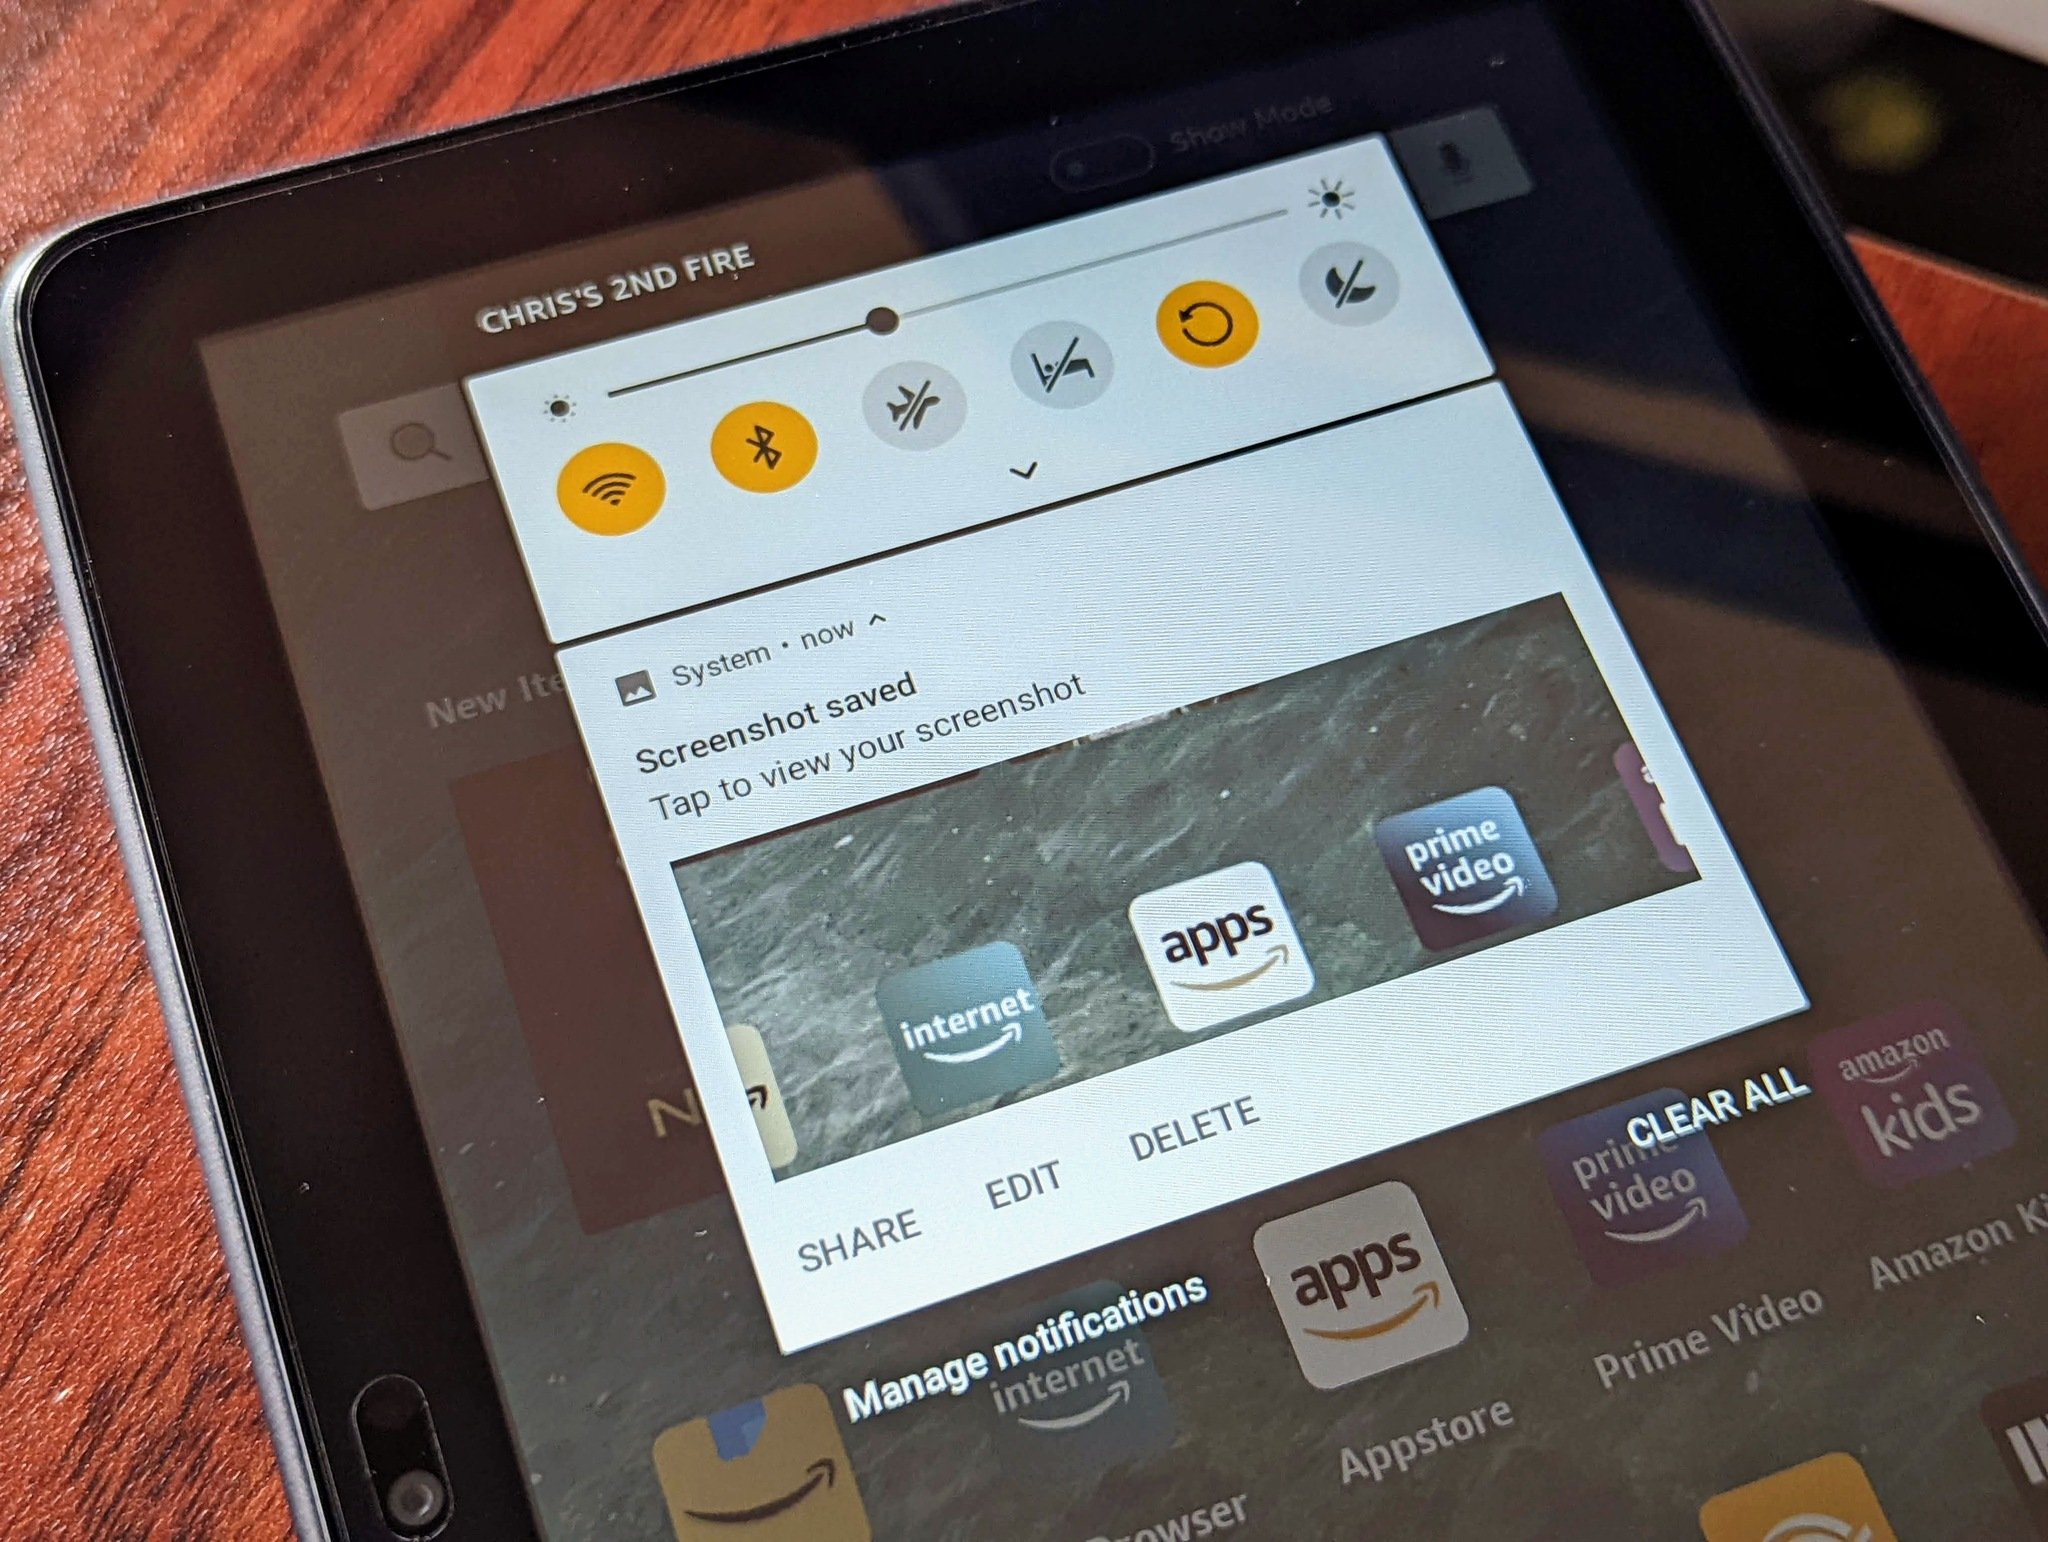
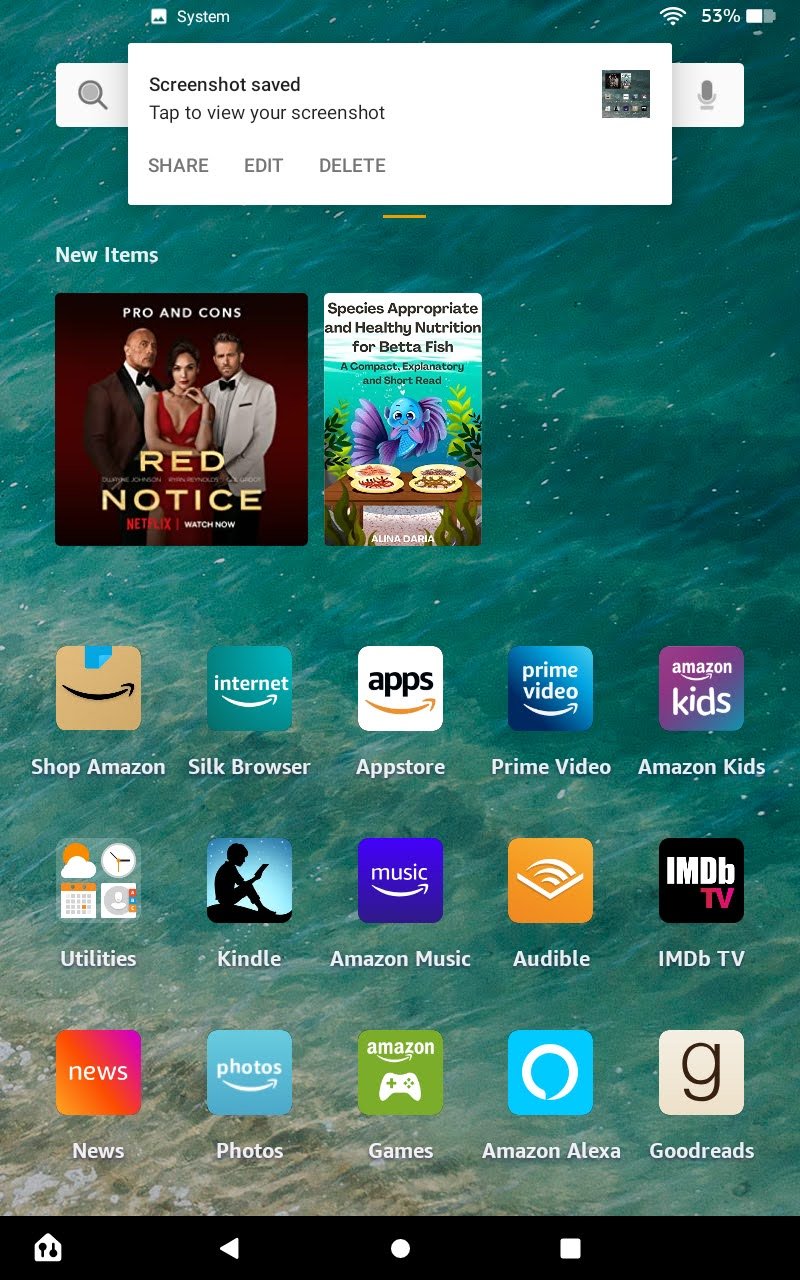
- At the top of the screen, a notification will appear with options to Share, Edit, or Delete the screenshot.
After screenshots are taken, you can go into the Photos app on your Amazon Fire tablet to view all of your screenshots. From there, you can also share, edit, and delete them as needed. The Photos app can auto-backup your photos to the cloud, and if you want to, screenshots can be included in that backup.
Screenshots can be helpful in many ways. Being able to capture a still image on any screen on your tablet allows you to send it to a friend if you need help with something, show off a high score in a game, or even to yourself as a reminder. So the next time you need to take a screenshot on your Amazon Fire tablet, for any reason, you'll be able to in a snap.


