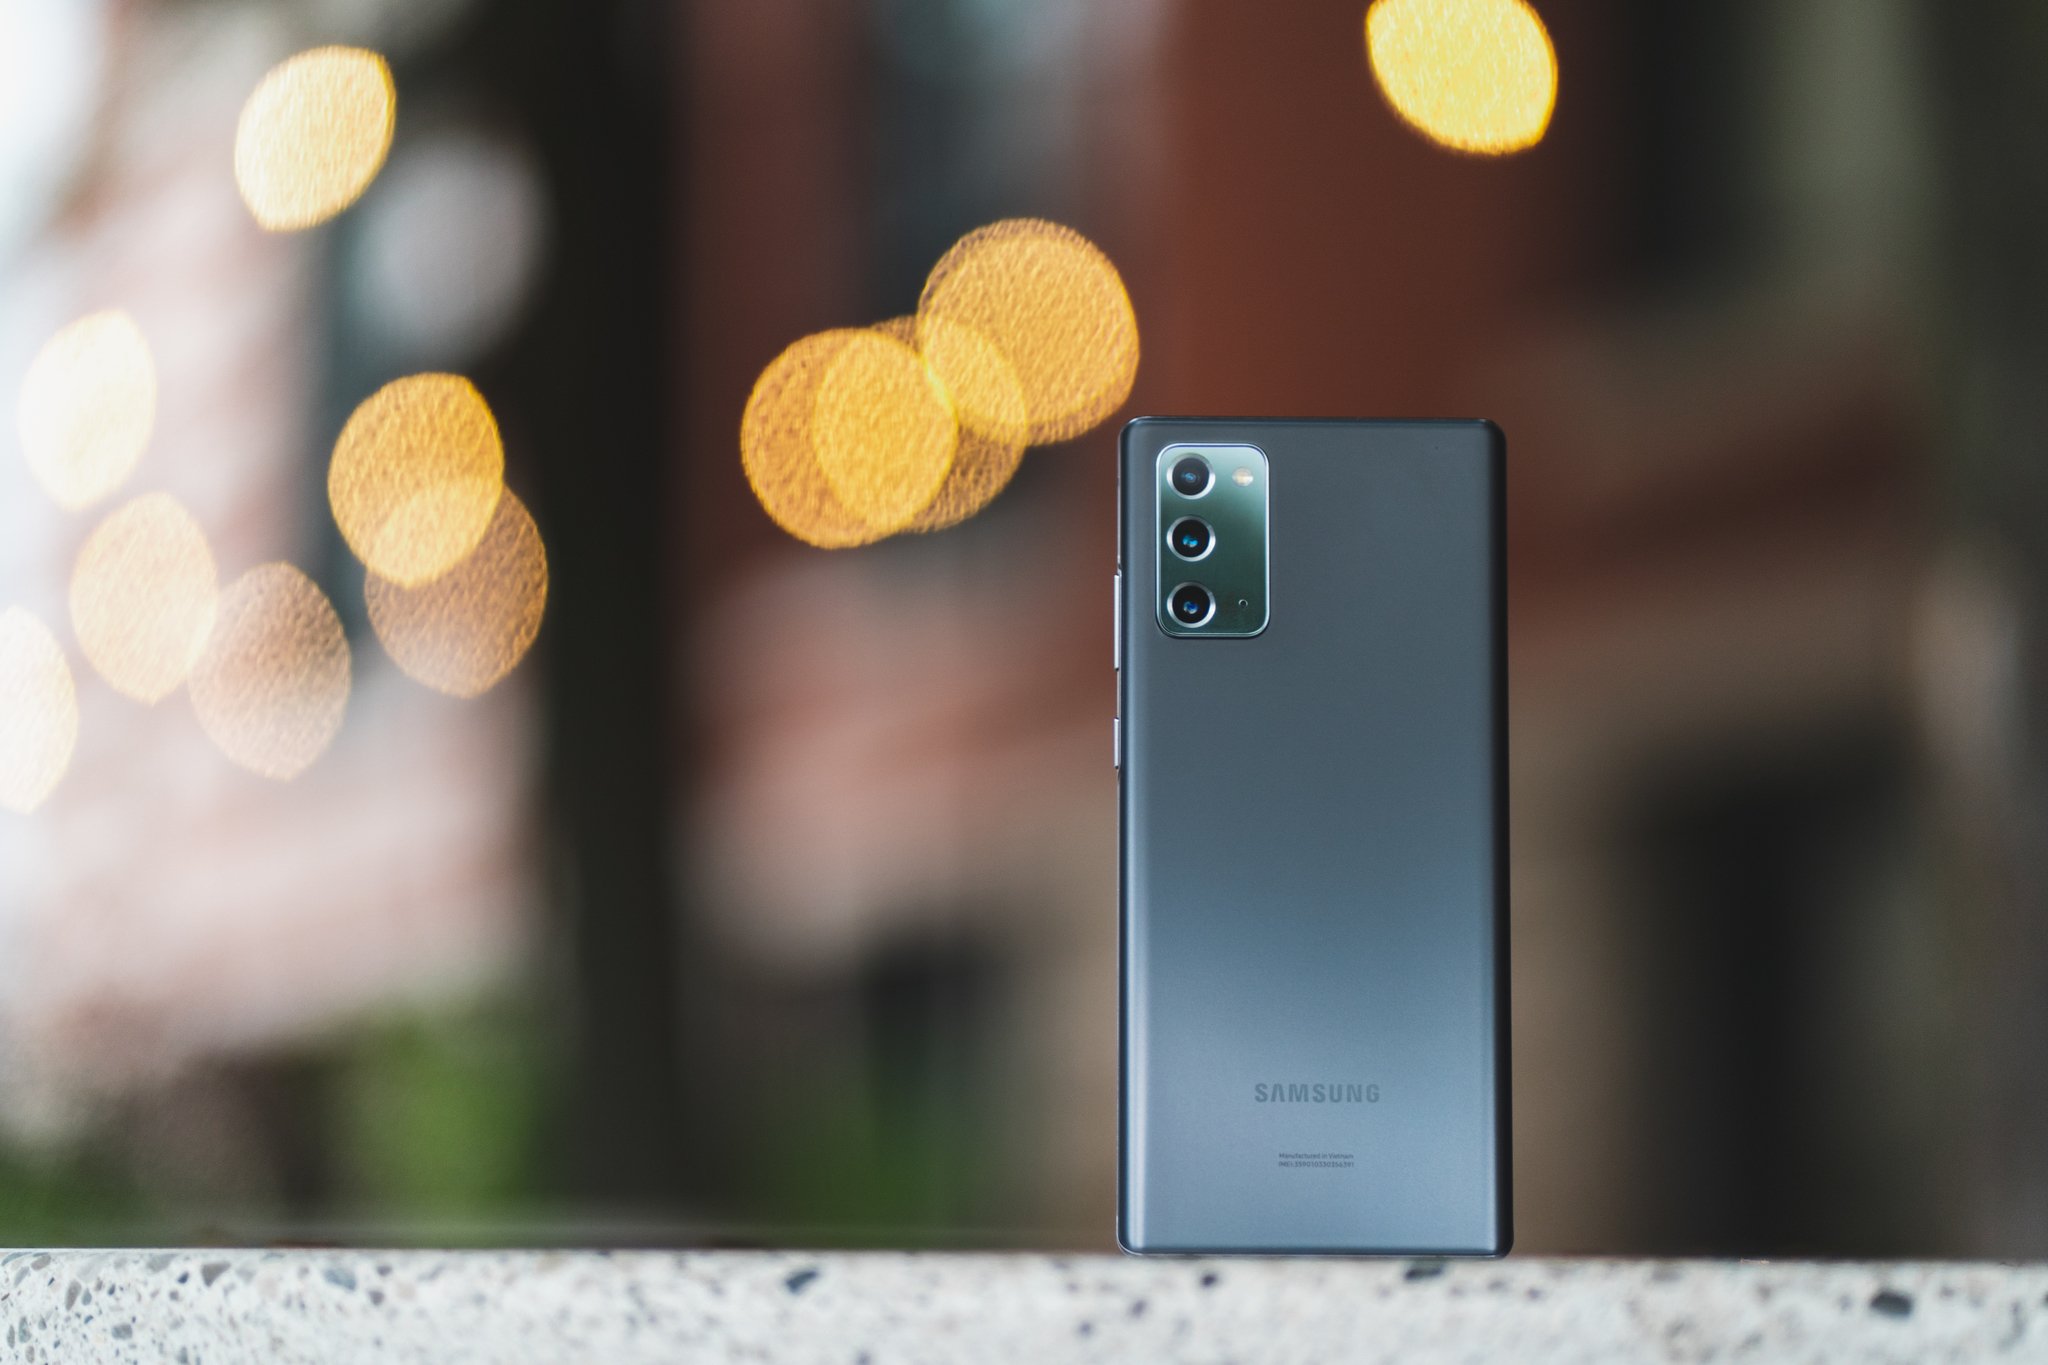
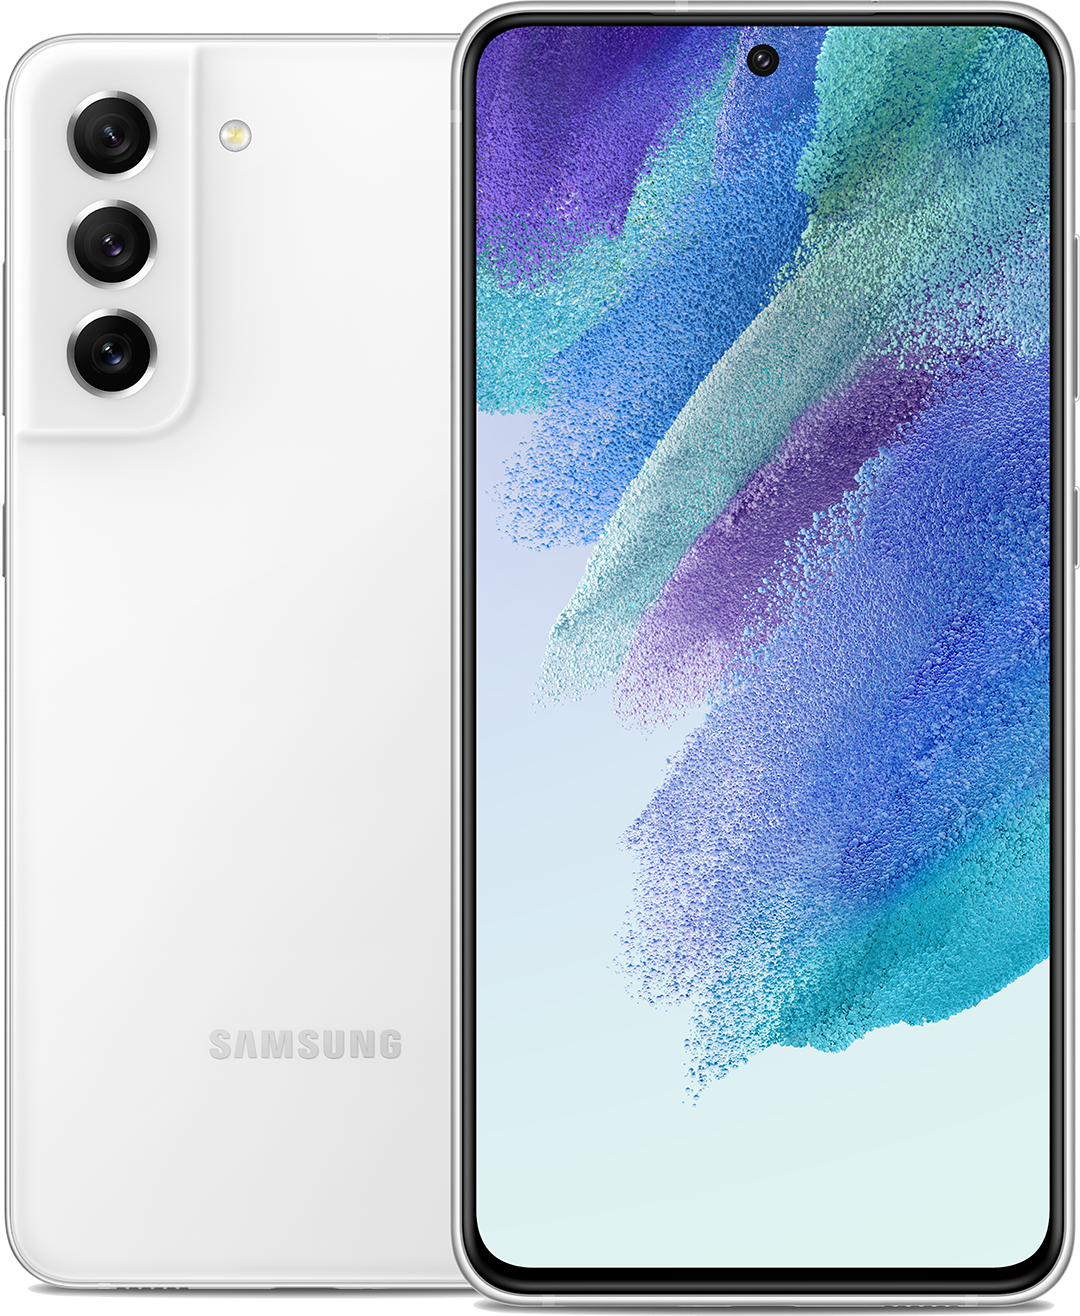
Here are the basic steps for setting up your new Samsung Galaxy phone
Samsung makes some of the best Android phones around, but while it has streamlined its initial configuration in the last few generations, there are still several extra steps compared to other phones - Samsung injects its own steps alongside Google. The process is self-explanatory, but we have all of the information and tips you need to know about as you go through each step.
How to set up your Galaxy phoneIf you're coming from a Samsung phone, you can skip most of this setup process and restore directly from that phone. Just open up Smart Switch on your current phone, and follow the prompts on both phones. We recommend using a cable rather than Wi-Fi, which significantly speeds up the process.
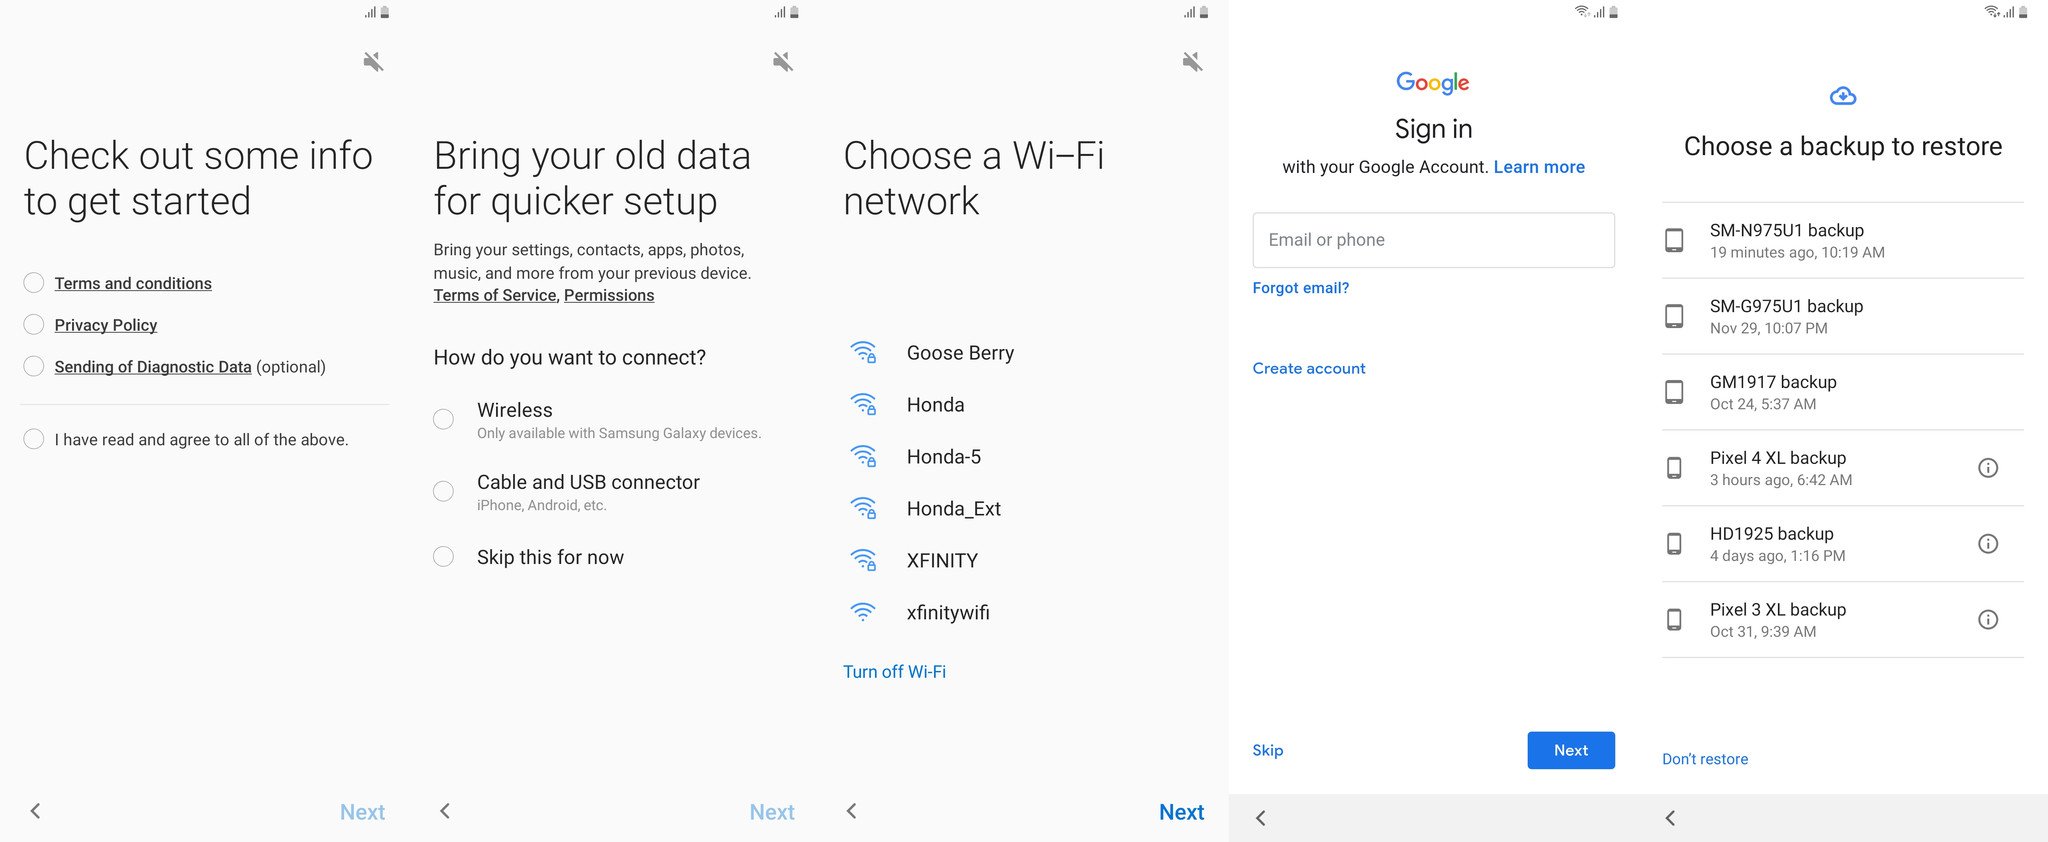
- Start by selecting the language you'd like to use for setup - you can change this later. Then tap the arrow button to begin the setup process.
- Agree to the terms and conditions and privacy policy. This is mandatory to continue setup, but you can opt out of sending diagnostic data and information linking (denoted by an Optional tag).
- Connect to a Wi-Fi network. You can skip this step and use mobile data, but it's best to use Wi-Fi for the initial setup as it uses lots of data.
After the phone checks for software updates, you enter your Google Account email and password.
- After sign-in, you can choose which data and apps to restore from your Google account.
- If you have multiple phones on your account, you can choose which one to restore data from.
- Apps and data will start downloading in the background as you finish setup - downloads will continue for 10-30 minutes.
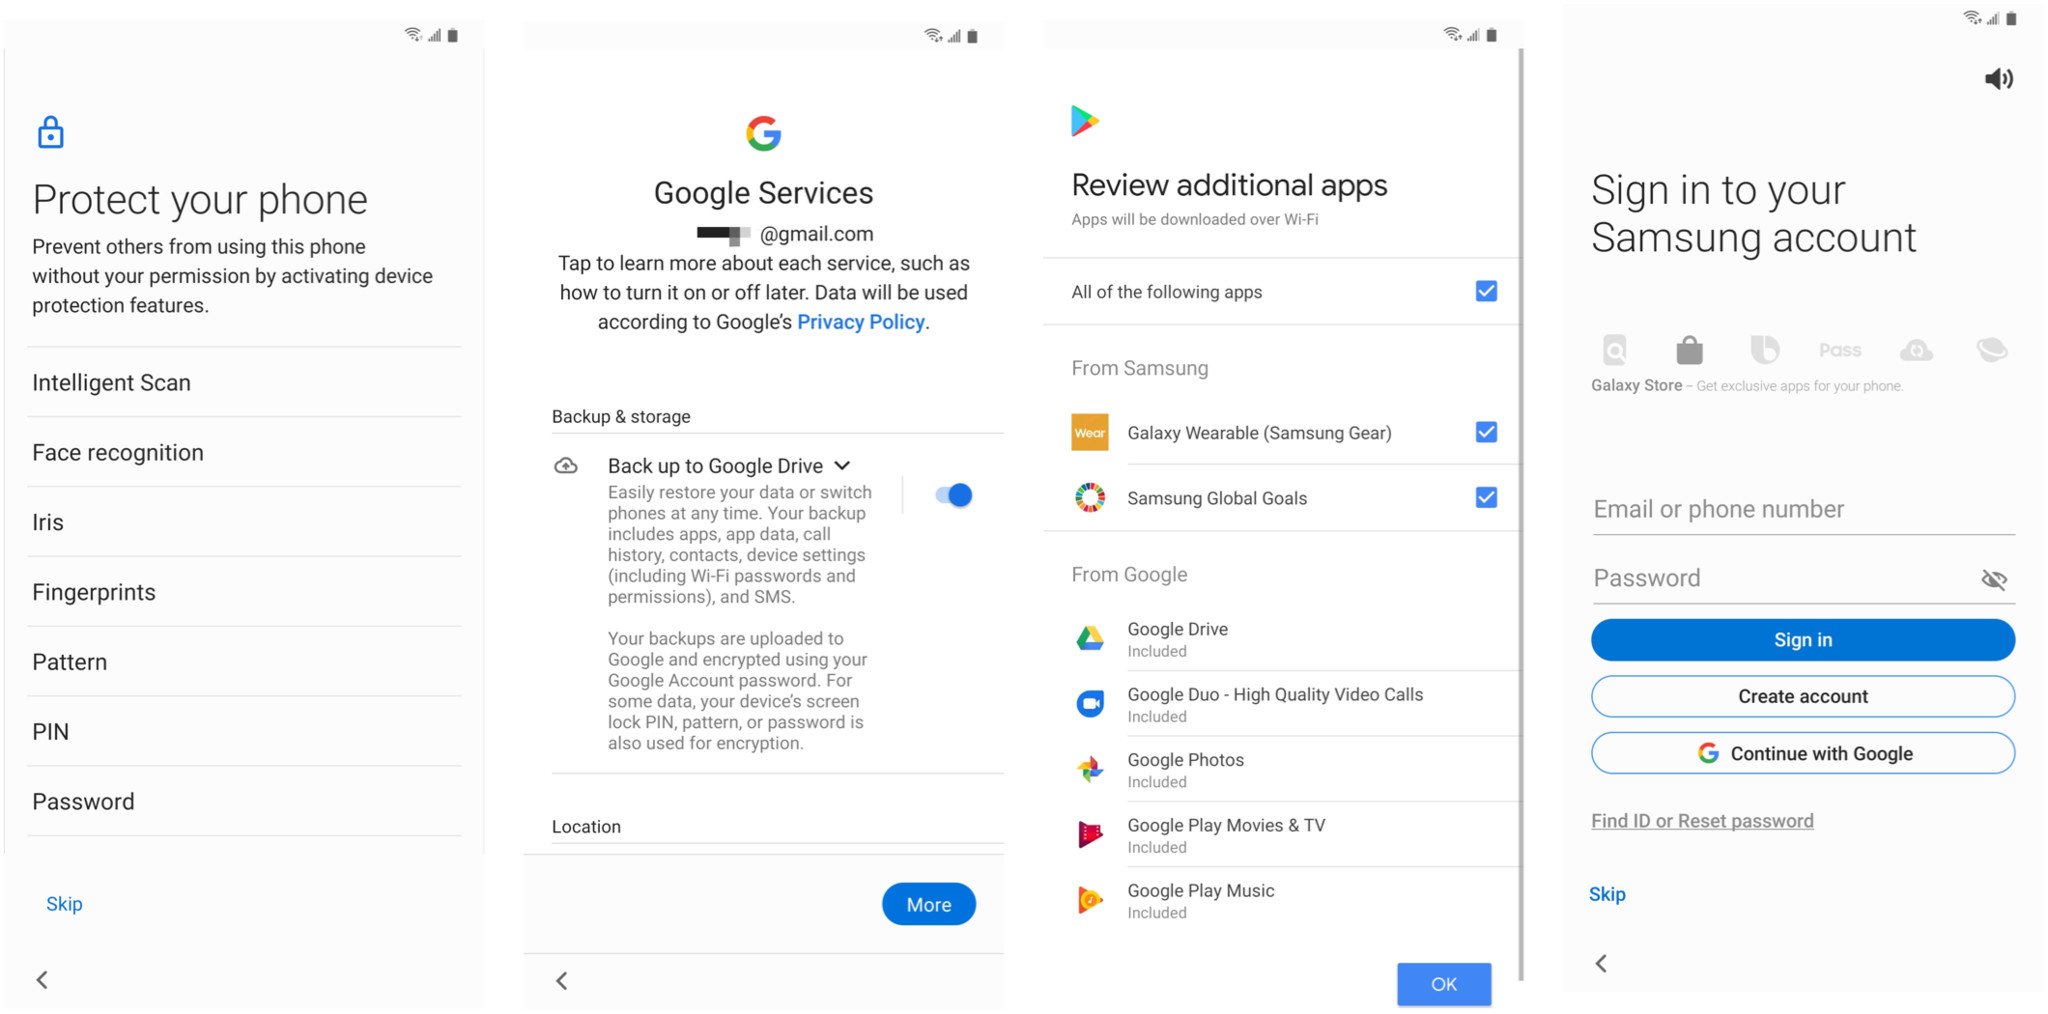
- Set up your preferred security method - fingerprint is a great idea, though you'll need to set a backup method like a PIN or pattern.
- Agree to Google's terms of service, and then review "additional apps" from Google and Samsung to install - you can always install these later if you wish.
Sign into or create a Samsung account - it's an annoying extra step, but you'll want to have one later, so you might as well do it now.A Samsung account is used to download and update apps from Galaxy Apps and use Samsung's cloud products.
After all these steps, you'll be taken to your phone's home screen to get acquainted with everything. How you configure everything from this point on is up to your personal preferences. Get all of your apps installed and set up just how you like, configure your home screen, and dive into the settings to find all of the little tweaks you want to make. Over time, your phone will become just as unique as you.
Additional tips for an optimal setupOf course, you can set up your device however you like, but if you're anything like me, there are a few quick things you'll want to set up once you've reached the end of the initial setup screen. Here are a few settings I'd recommend enabling or tweaking based on my usage:
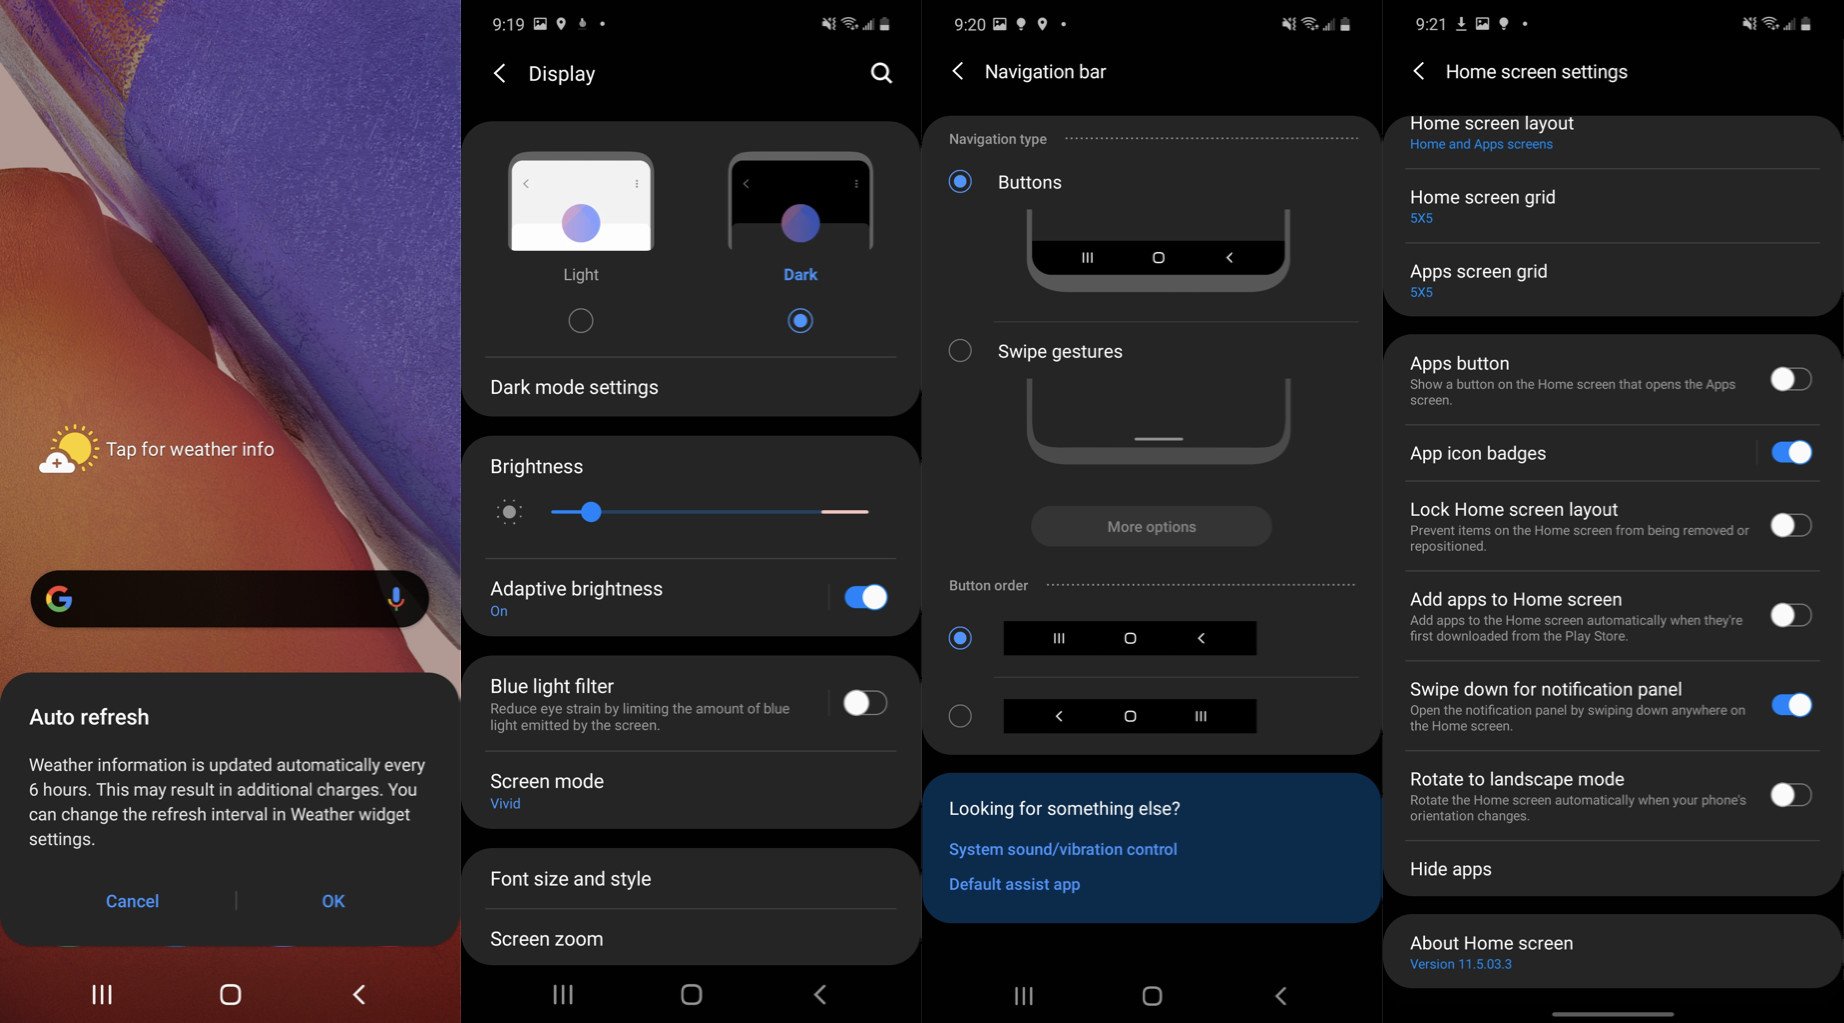
- Tap the weather widget on the home screen and grant access to your location data. This will allow you to display the local weather on your home screen, updated automatically every six hours.
Open the Settings app and fine-tune your display settings.
- The first thing I do on a new phone is enable dark mode - it's the very first option under the Display tab of the Settings app.
- I'm not a huge fan of Samsung's heavily saturated default display profile, so I typically tap Screen Mode and change to the Natural color profile.
- Under Navigation Bar, change the layout from Buttons to Swipe Gestures for a modern, swipe-based interface. As a bonus, swipe gestures allow you to reclaim the bottom portion of your display. To go even further, you can toggle Gesture Hints off, which hides the small gray bar at the bottom of the screen.
- Tap Screen Zoom to adjust the scaling and either fit more information on the display or enlarge text to reduce eye strain. I tend to reduce screen zoom to the smallest setting to fit as much on my screen as possible.
- Long press on the home screen and tap Home Screen Settings to adjust the behavior of your app launcher.
- Tap Home Screen Grid to add more or fewer icons to your home screen layout. I typically go for a 5x5 grid instead of the default 4x5 on most Samsung devices. While you're at it, you can also tap Apps Screen Grid to do the same for your app drawer.
- Having easy access to your notification shade makes a big difference for one-handed usability. Toggle Swipe Down for Notification Panel to replace the default setting of accessing your app drawer - something you can already do by swiping up on the home screen.
Samsung is the largest phone manufacturer in the world, and a lot of that is down to the sheer variety it offers. The Galaxy S21 FE, for instance, takes the same ideals as the regular S21 series but makes it just that little bit more affordable, making it a great choice in 2022.
The new defaultSamsung Galaxy S21 FE - 5G Android PhoneThe obvious choice in 2022
The Galaxy S21 FE takes the best features of the S21 series and brings them down to a slightly more affordable price point - much like what the S20 FE did back in 2020. As a result, you get the same high-end hardware, a large 6.4-inch AMOLED screen with 120Hz refresh, stereo sound, decent cameras, and a big battery that lasts all day. Best of all, it runs Android 12 out of the box.
