Pixel Studio is dead, but there are still a few ways you can make fun stickers on your Pixel phone. Here's how
Google pulled a Google on Pixel Studio image generation, meaning the feature was killed just like countless other projects before it. Now that the AI image-generating feature is gone, there are still quite a few ways to create custom stickers on a Pixel phone.
Of the many ways, the easiest is as quick as a long press, whereas the other options require a few more steps. So, here are some ways I like to create custom stickers on my Pixel 10 Pro without Pixel Studio.
Note that my Pixel is running Android 17, but Pixels running Android 16 with recent updates should also have access to the same features. Make sure you update your phone and apps to the latest available versions in case you still don't see these features on your Pixel phone.
How to create custom stickers on Pixel phones with Google PhotosGoogle Photos is the native image gallery app on every single Pixel phone. Many Android phones also use it as the native image viewer.
To create a custom sticker from a preexisting image, first find the picture you want in Google Photos.
After that, simply press and hold the subject you want to make into a sticker. I usually use my cat, but this works with other animals and people too.
(Image credit: Namerah Saud Fatmi / Android Central)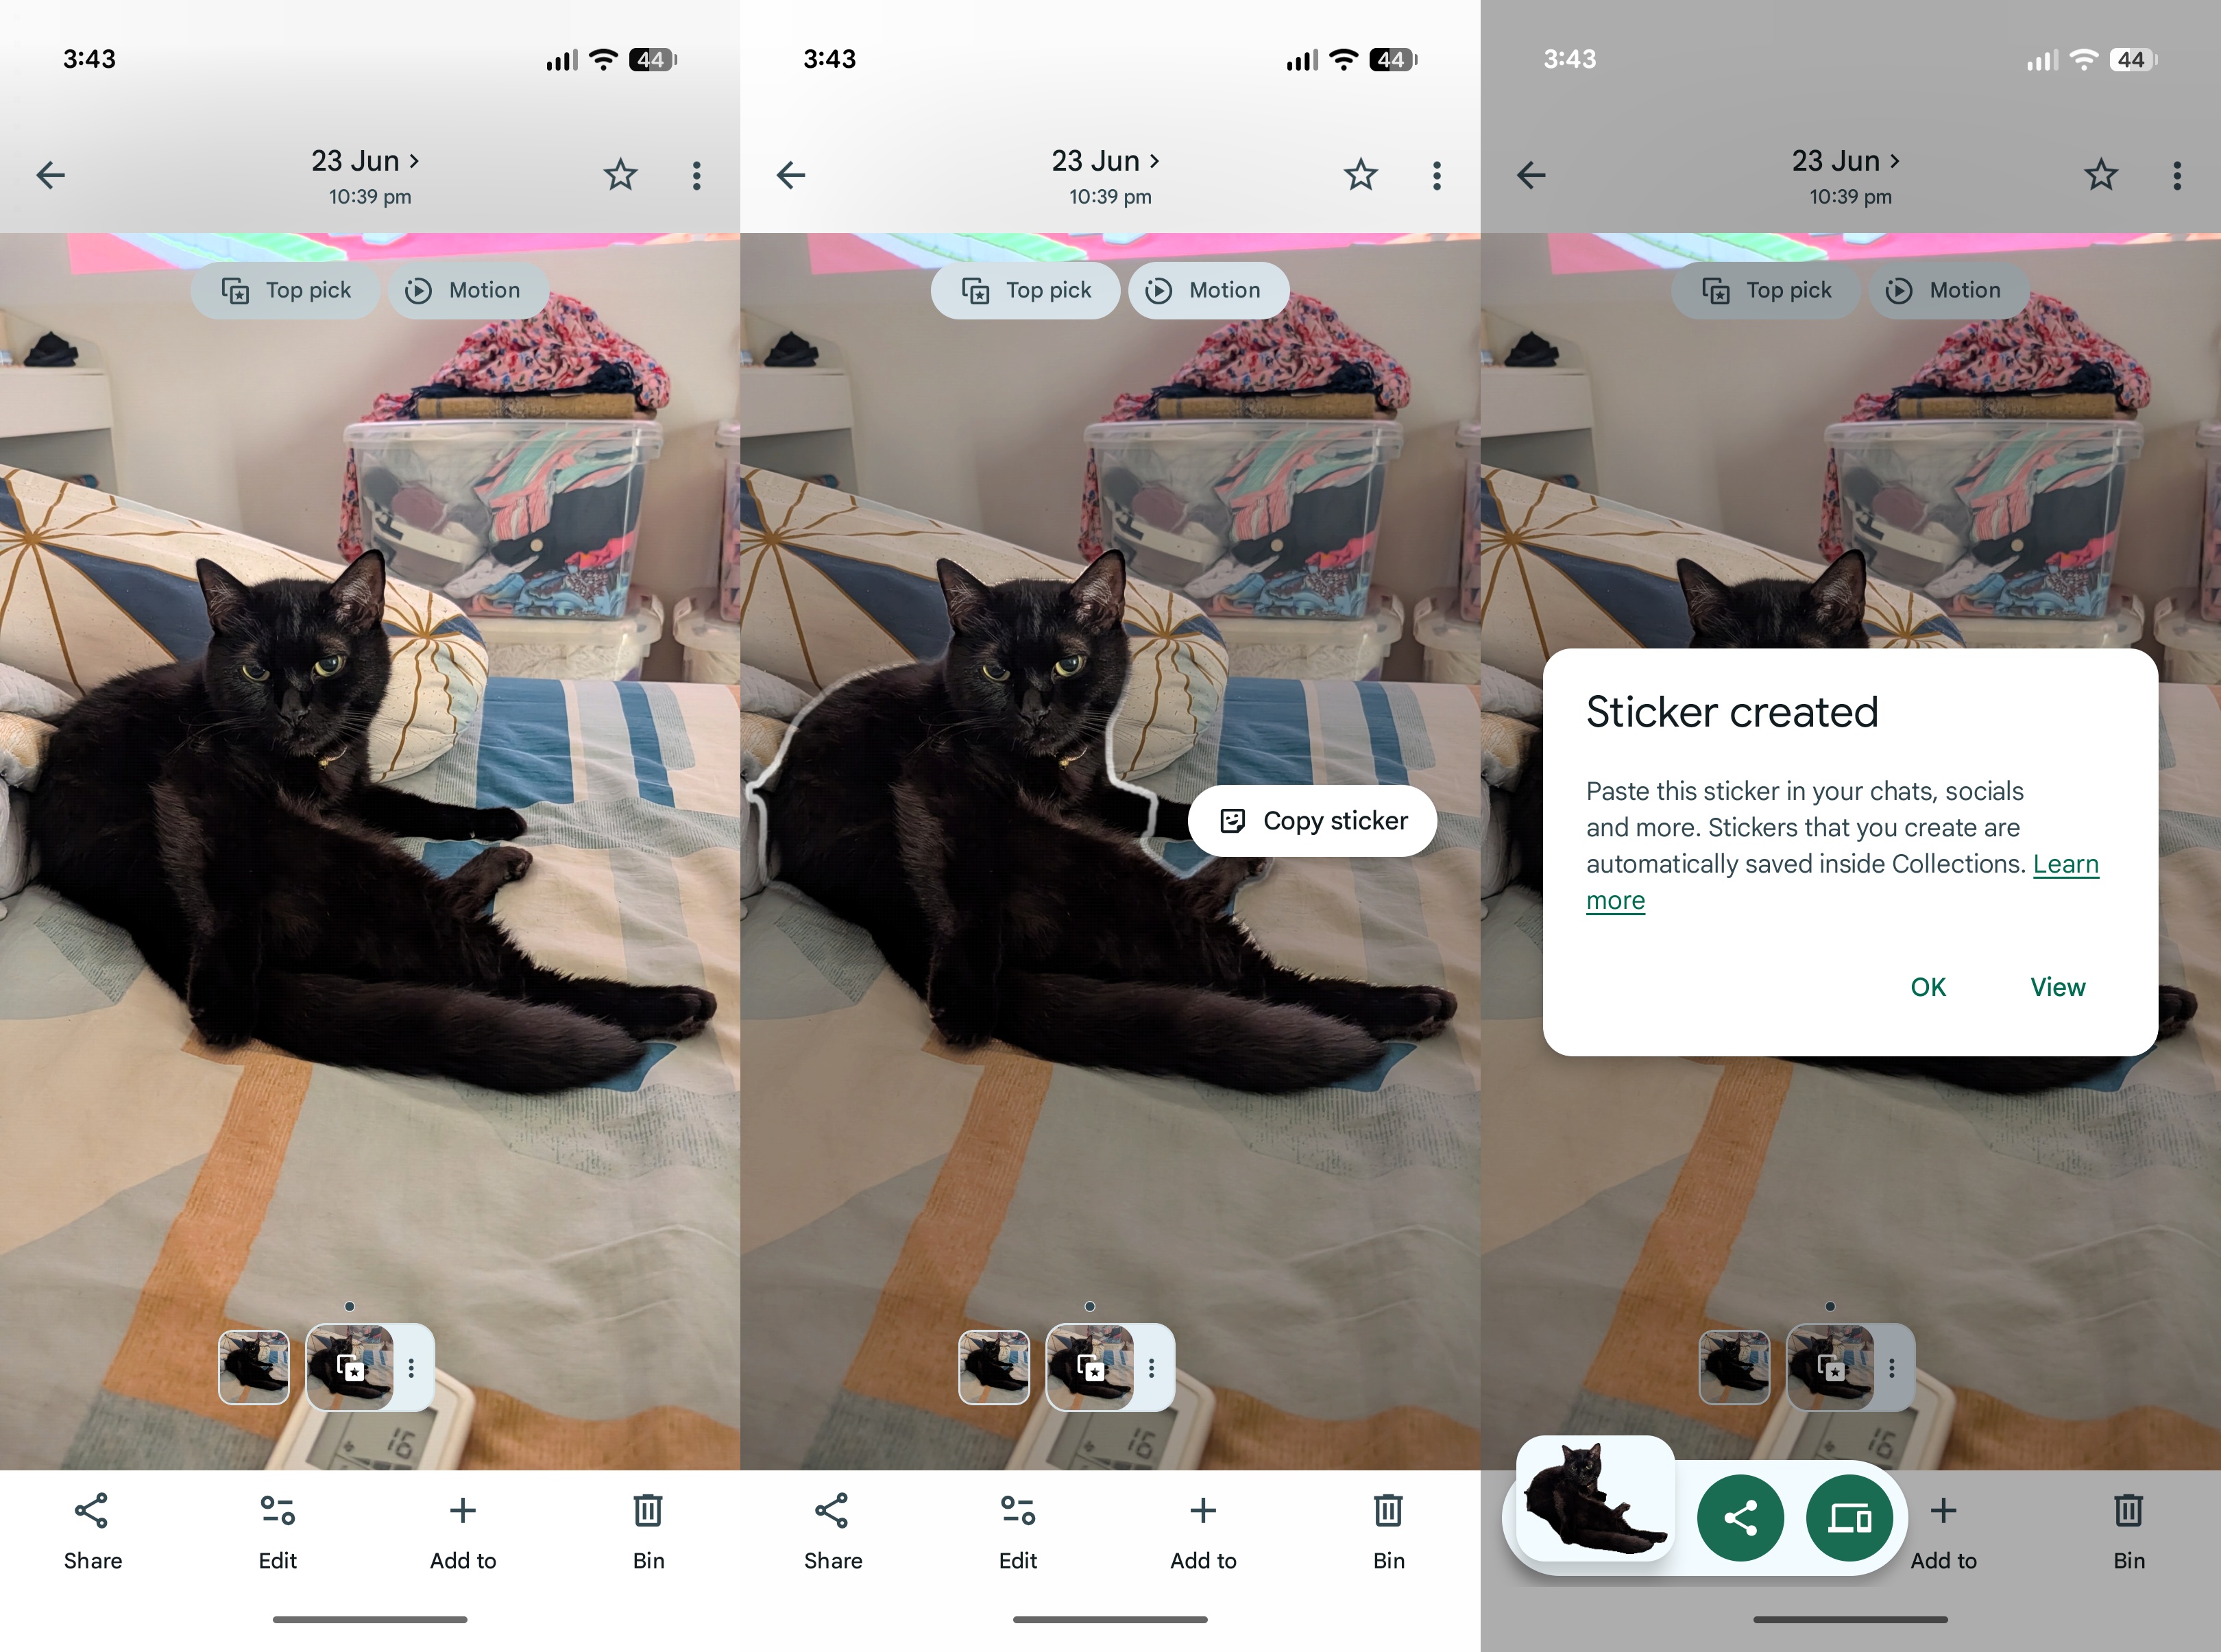
From there, you can past your sticker in other apps, including chats. You can also find them in the Collections tab on Google Photos.
How to create custom stickers on Pixel phones with Google MessagesLittle did I know that Google Messages already has a sticker creator built into it. Now that I have found it, I am happy to share that it is incredibly easy to use.
If you want to create custom stickers from your photos, just open a chat in Google Messages and tap the smiley face icon next to the photo attachment icon in the text box. Then, choose the Photomoji option.
(Image credit: Namerah Saud Fatmi / Android Central)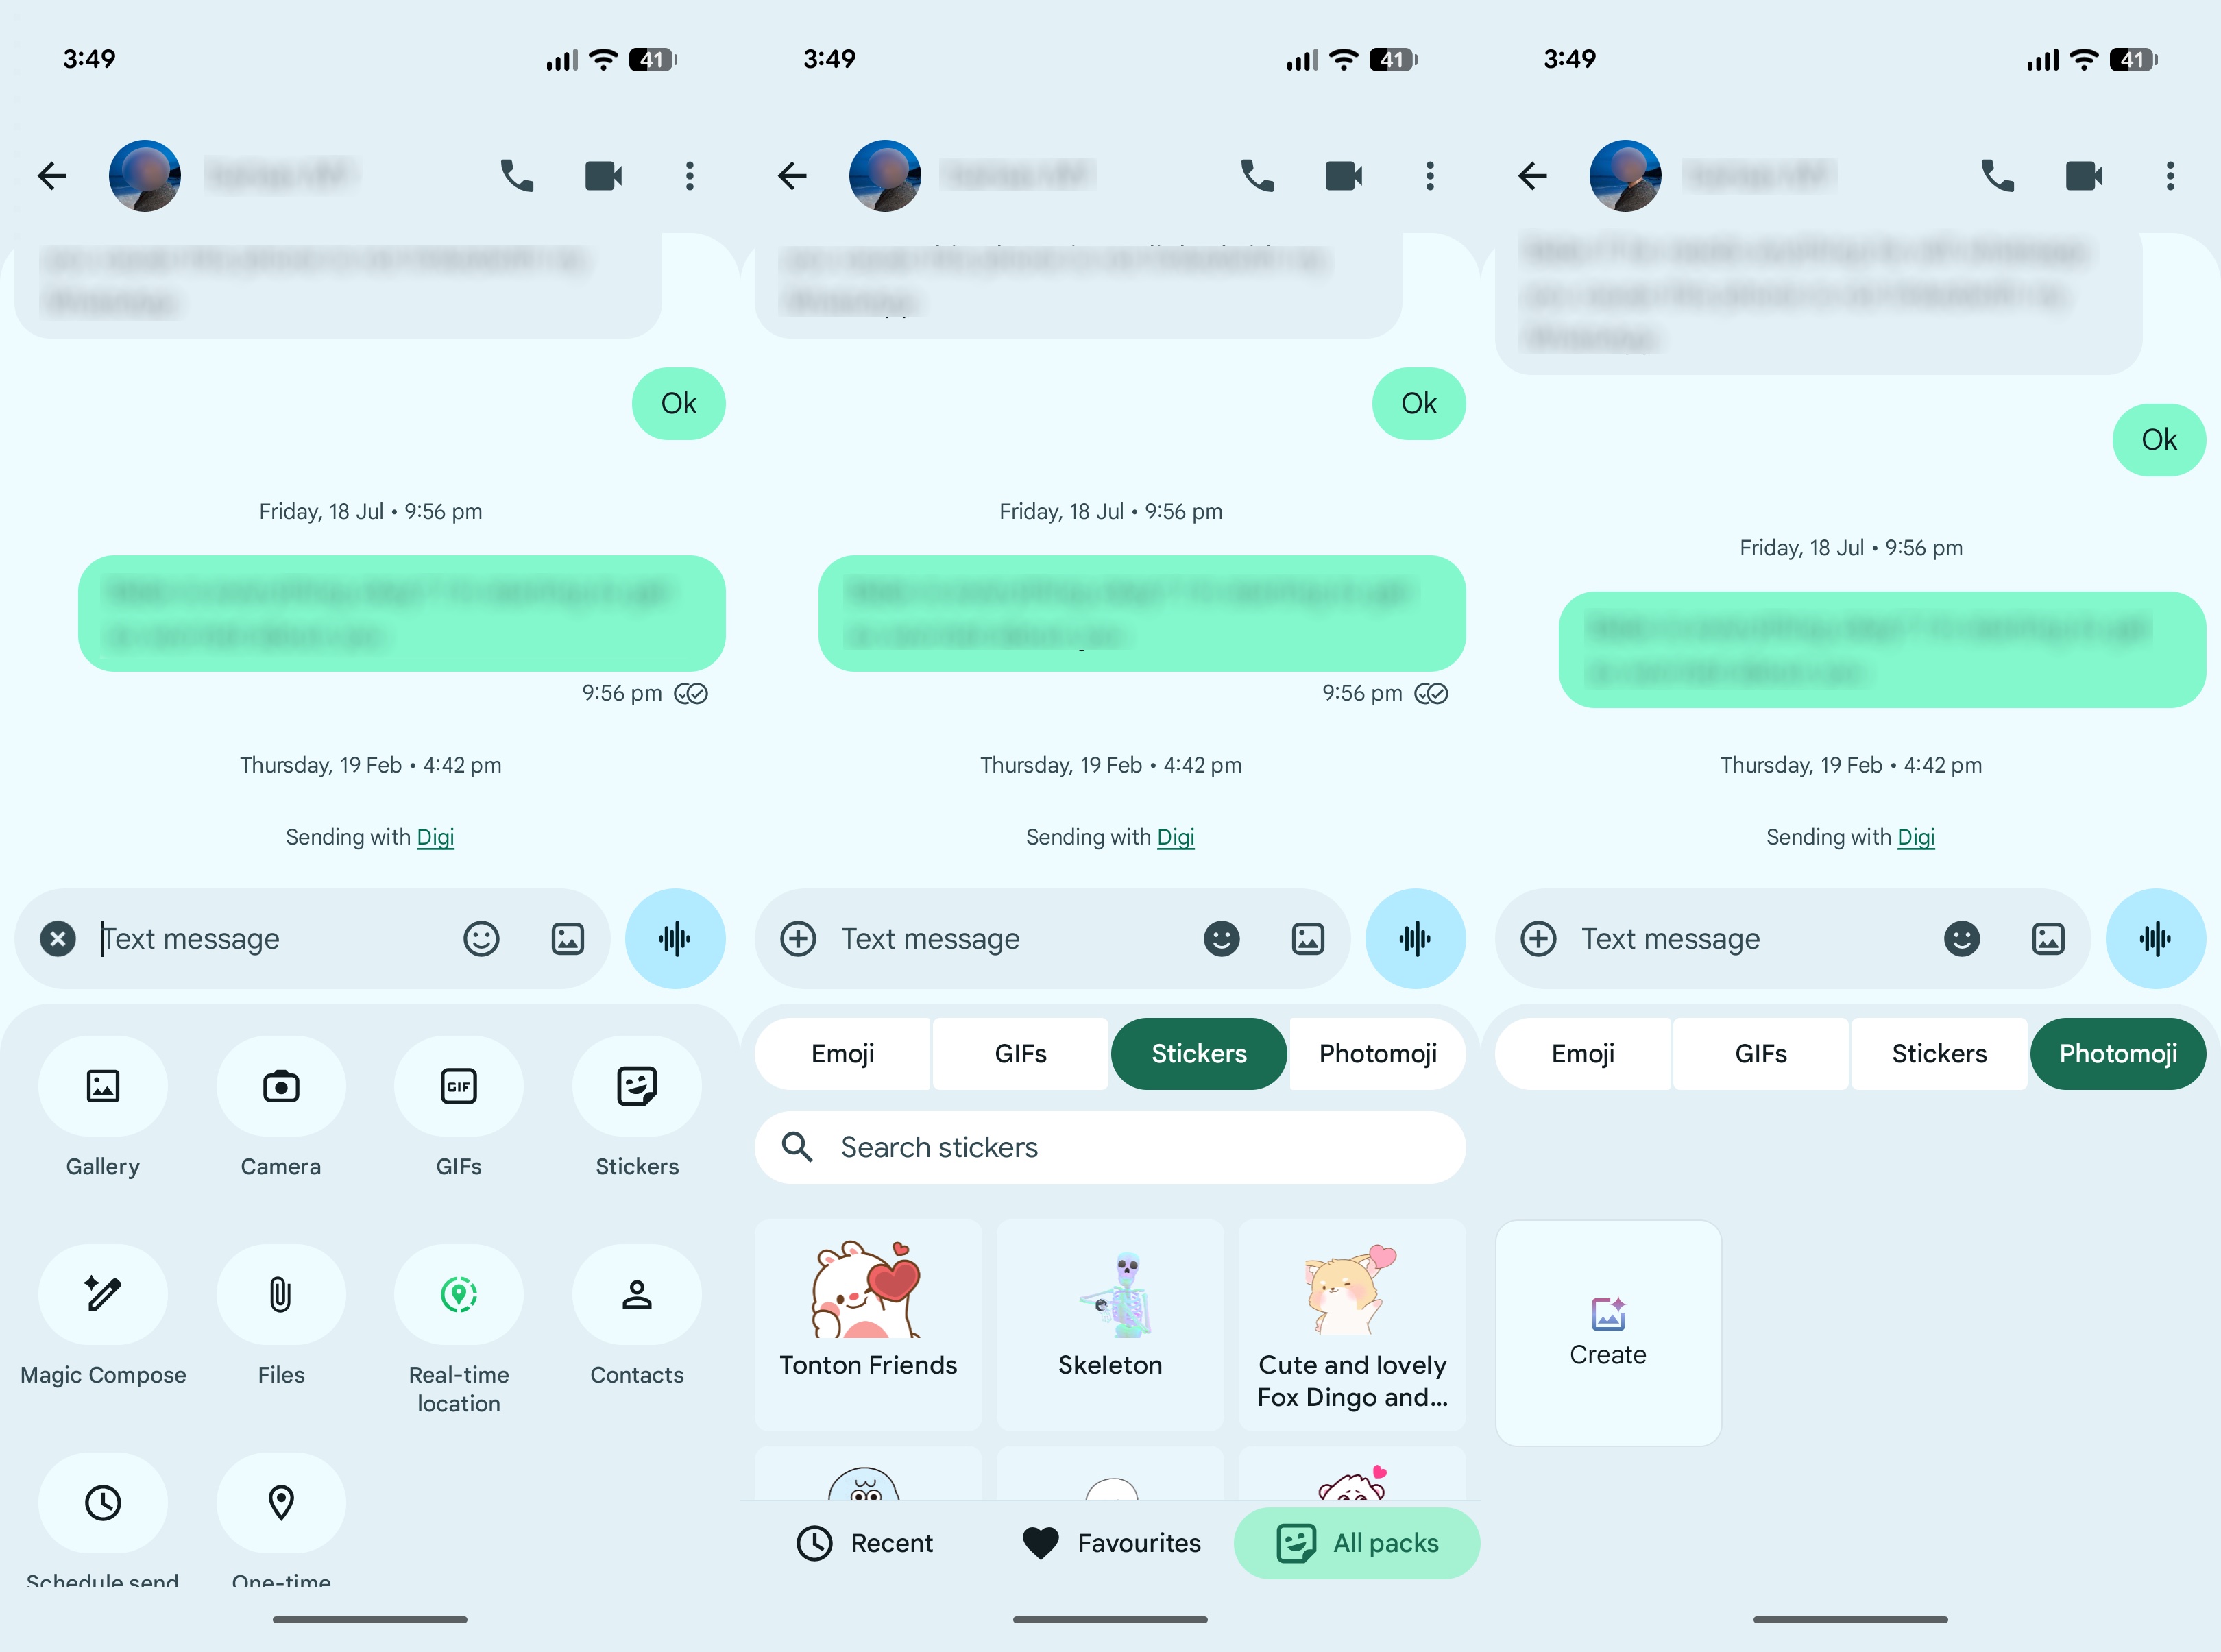
After that, either take a picture with the camera or select a picture from your device to create a sticker. Simply tap the send button to send the newly created sticker to the chat.
(Image credit: Namerah Saud Fatmi / Android Central)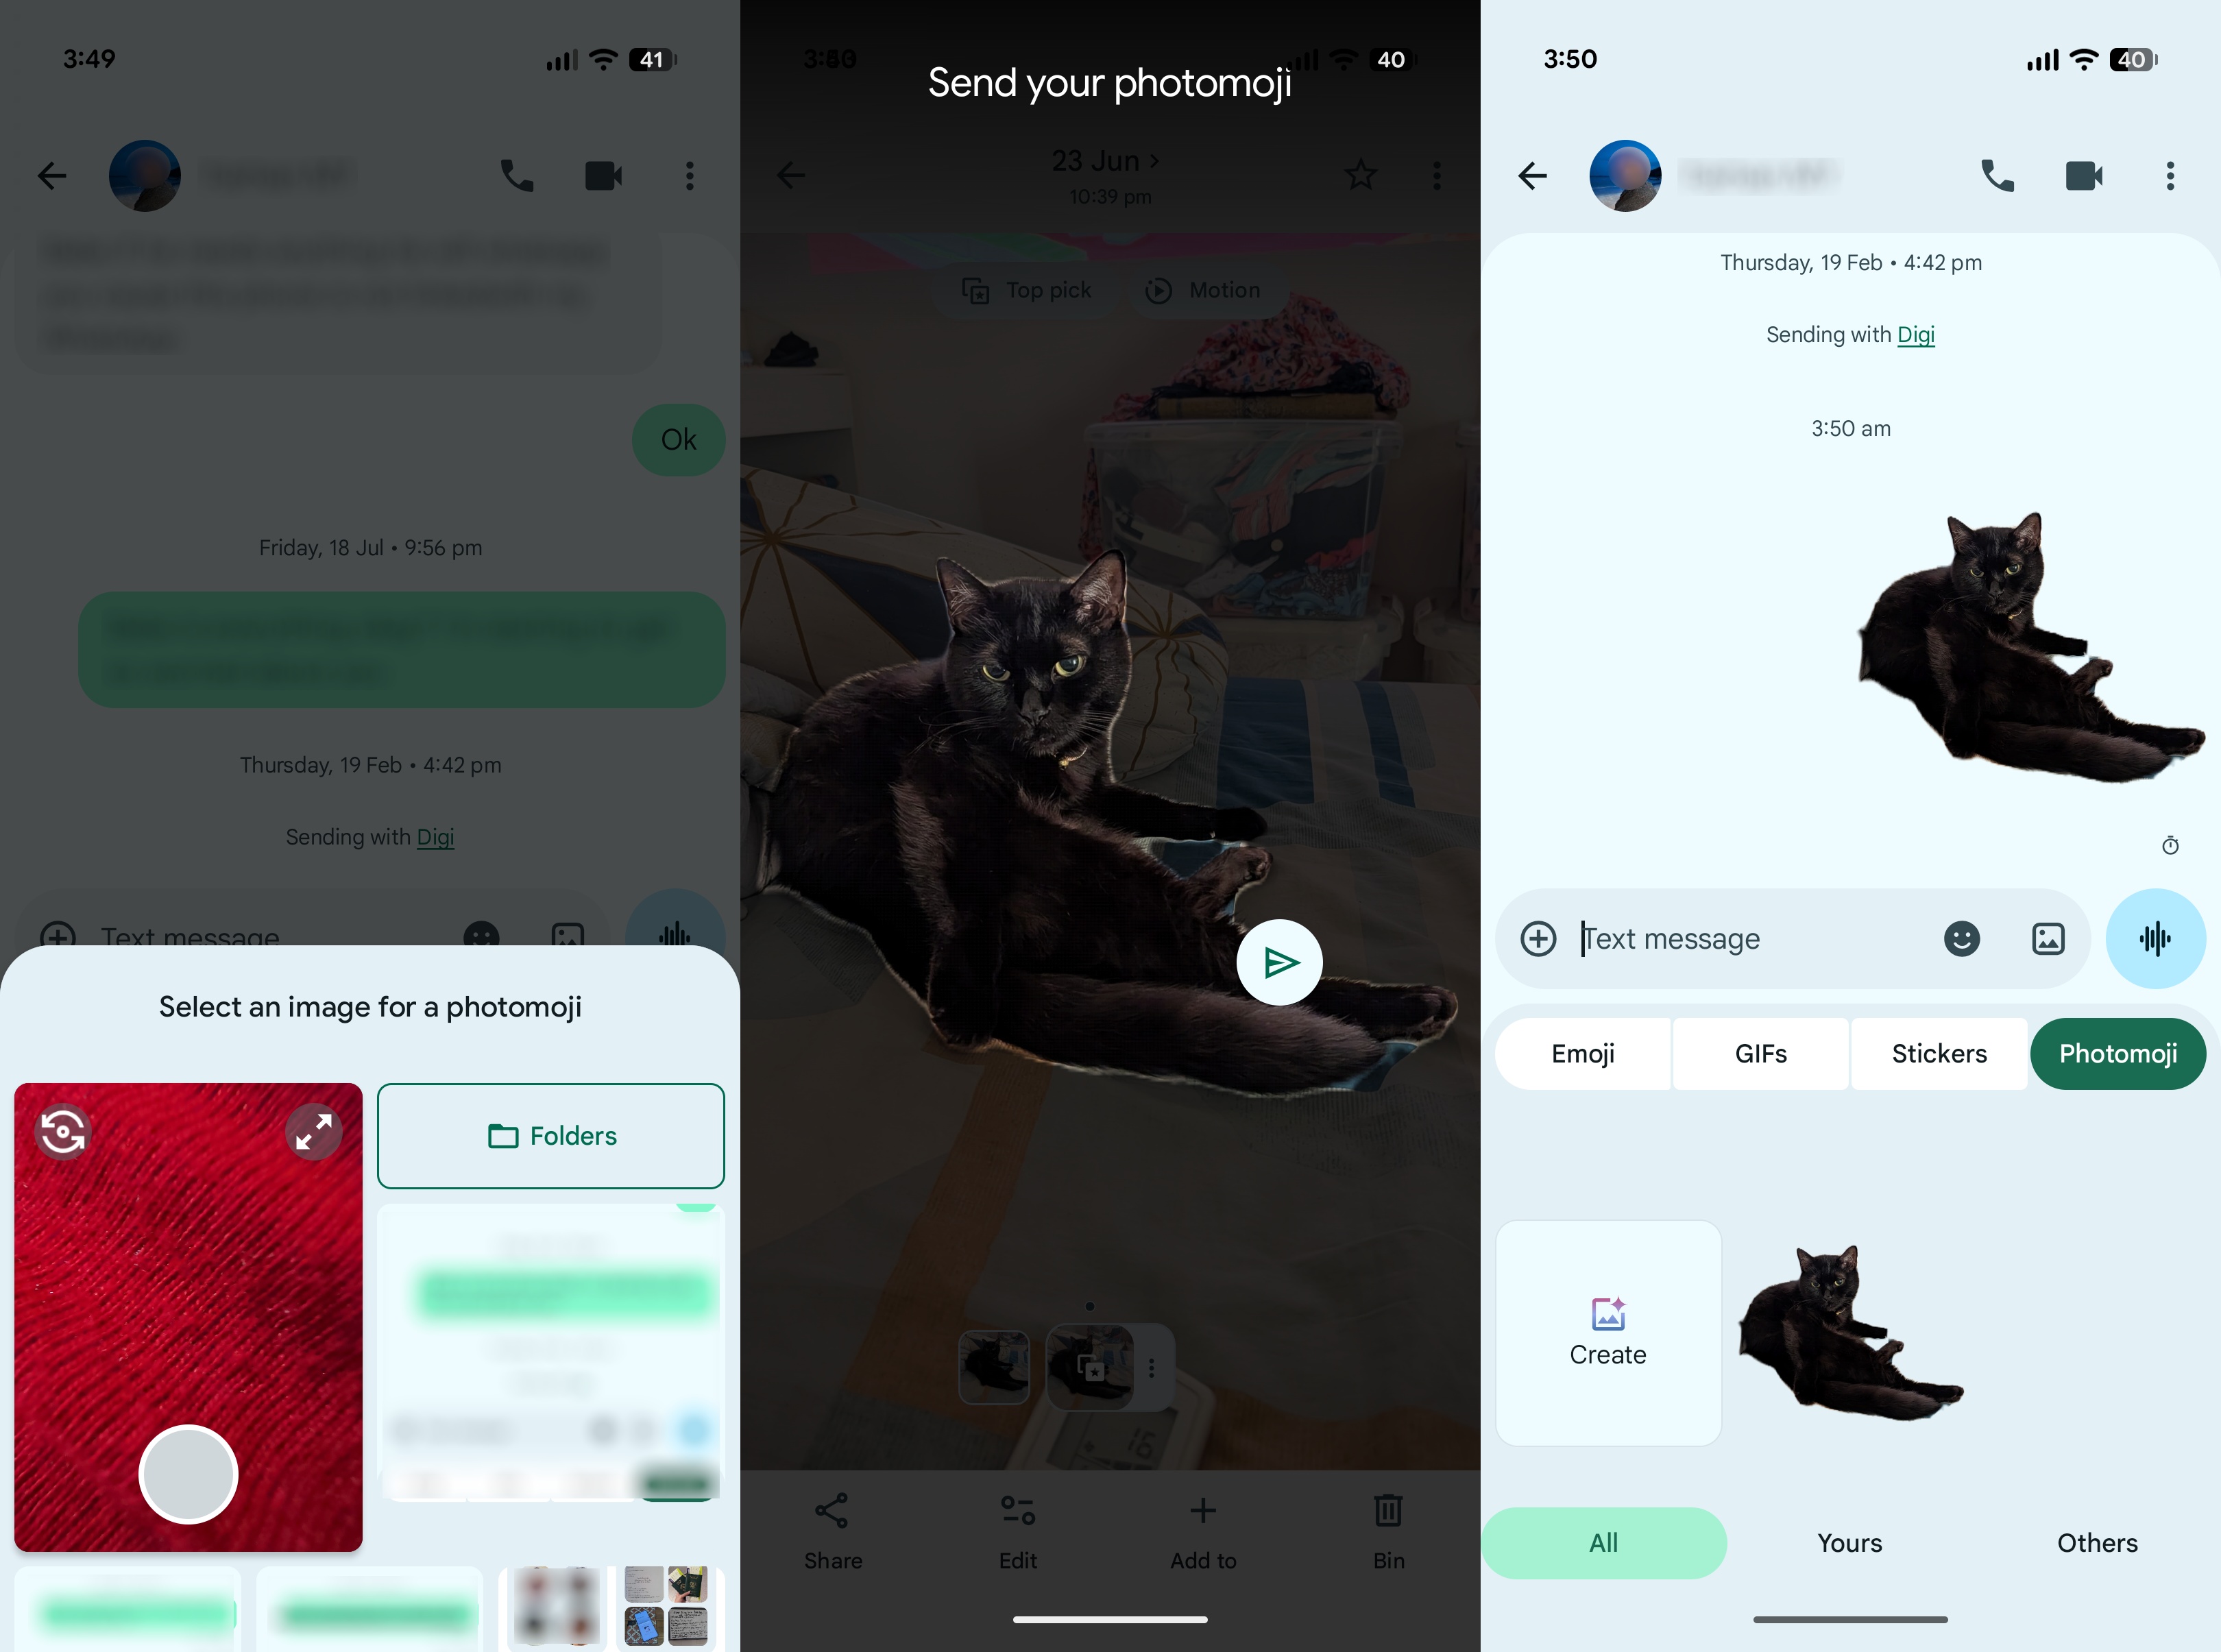
You can also use this sticker as a reaction image as opposed to the preloaded emojis, as a way to spice up your reactions ot messages.
There are still so many other ways to create your own custom stickers for messaging apps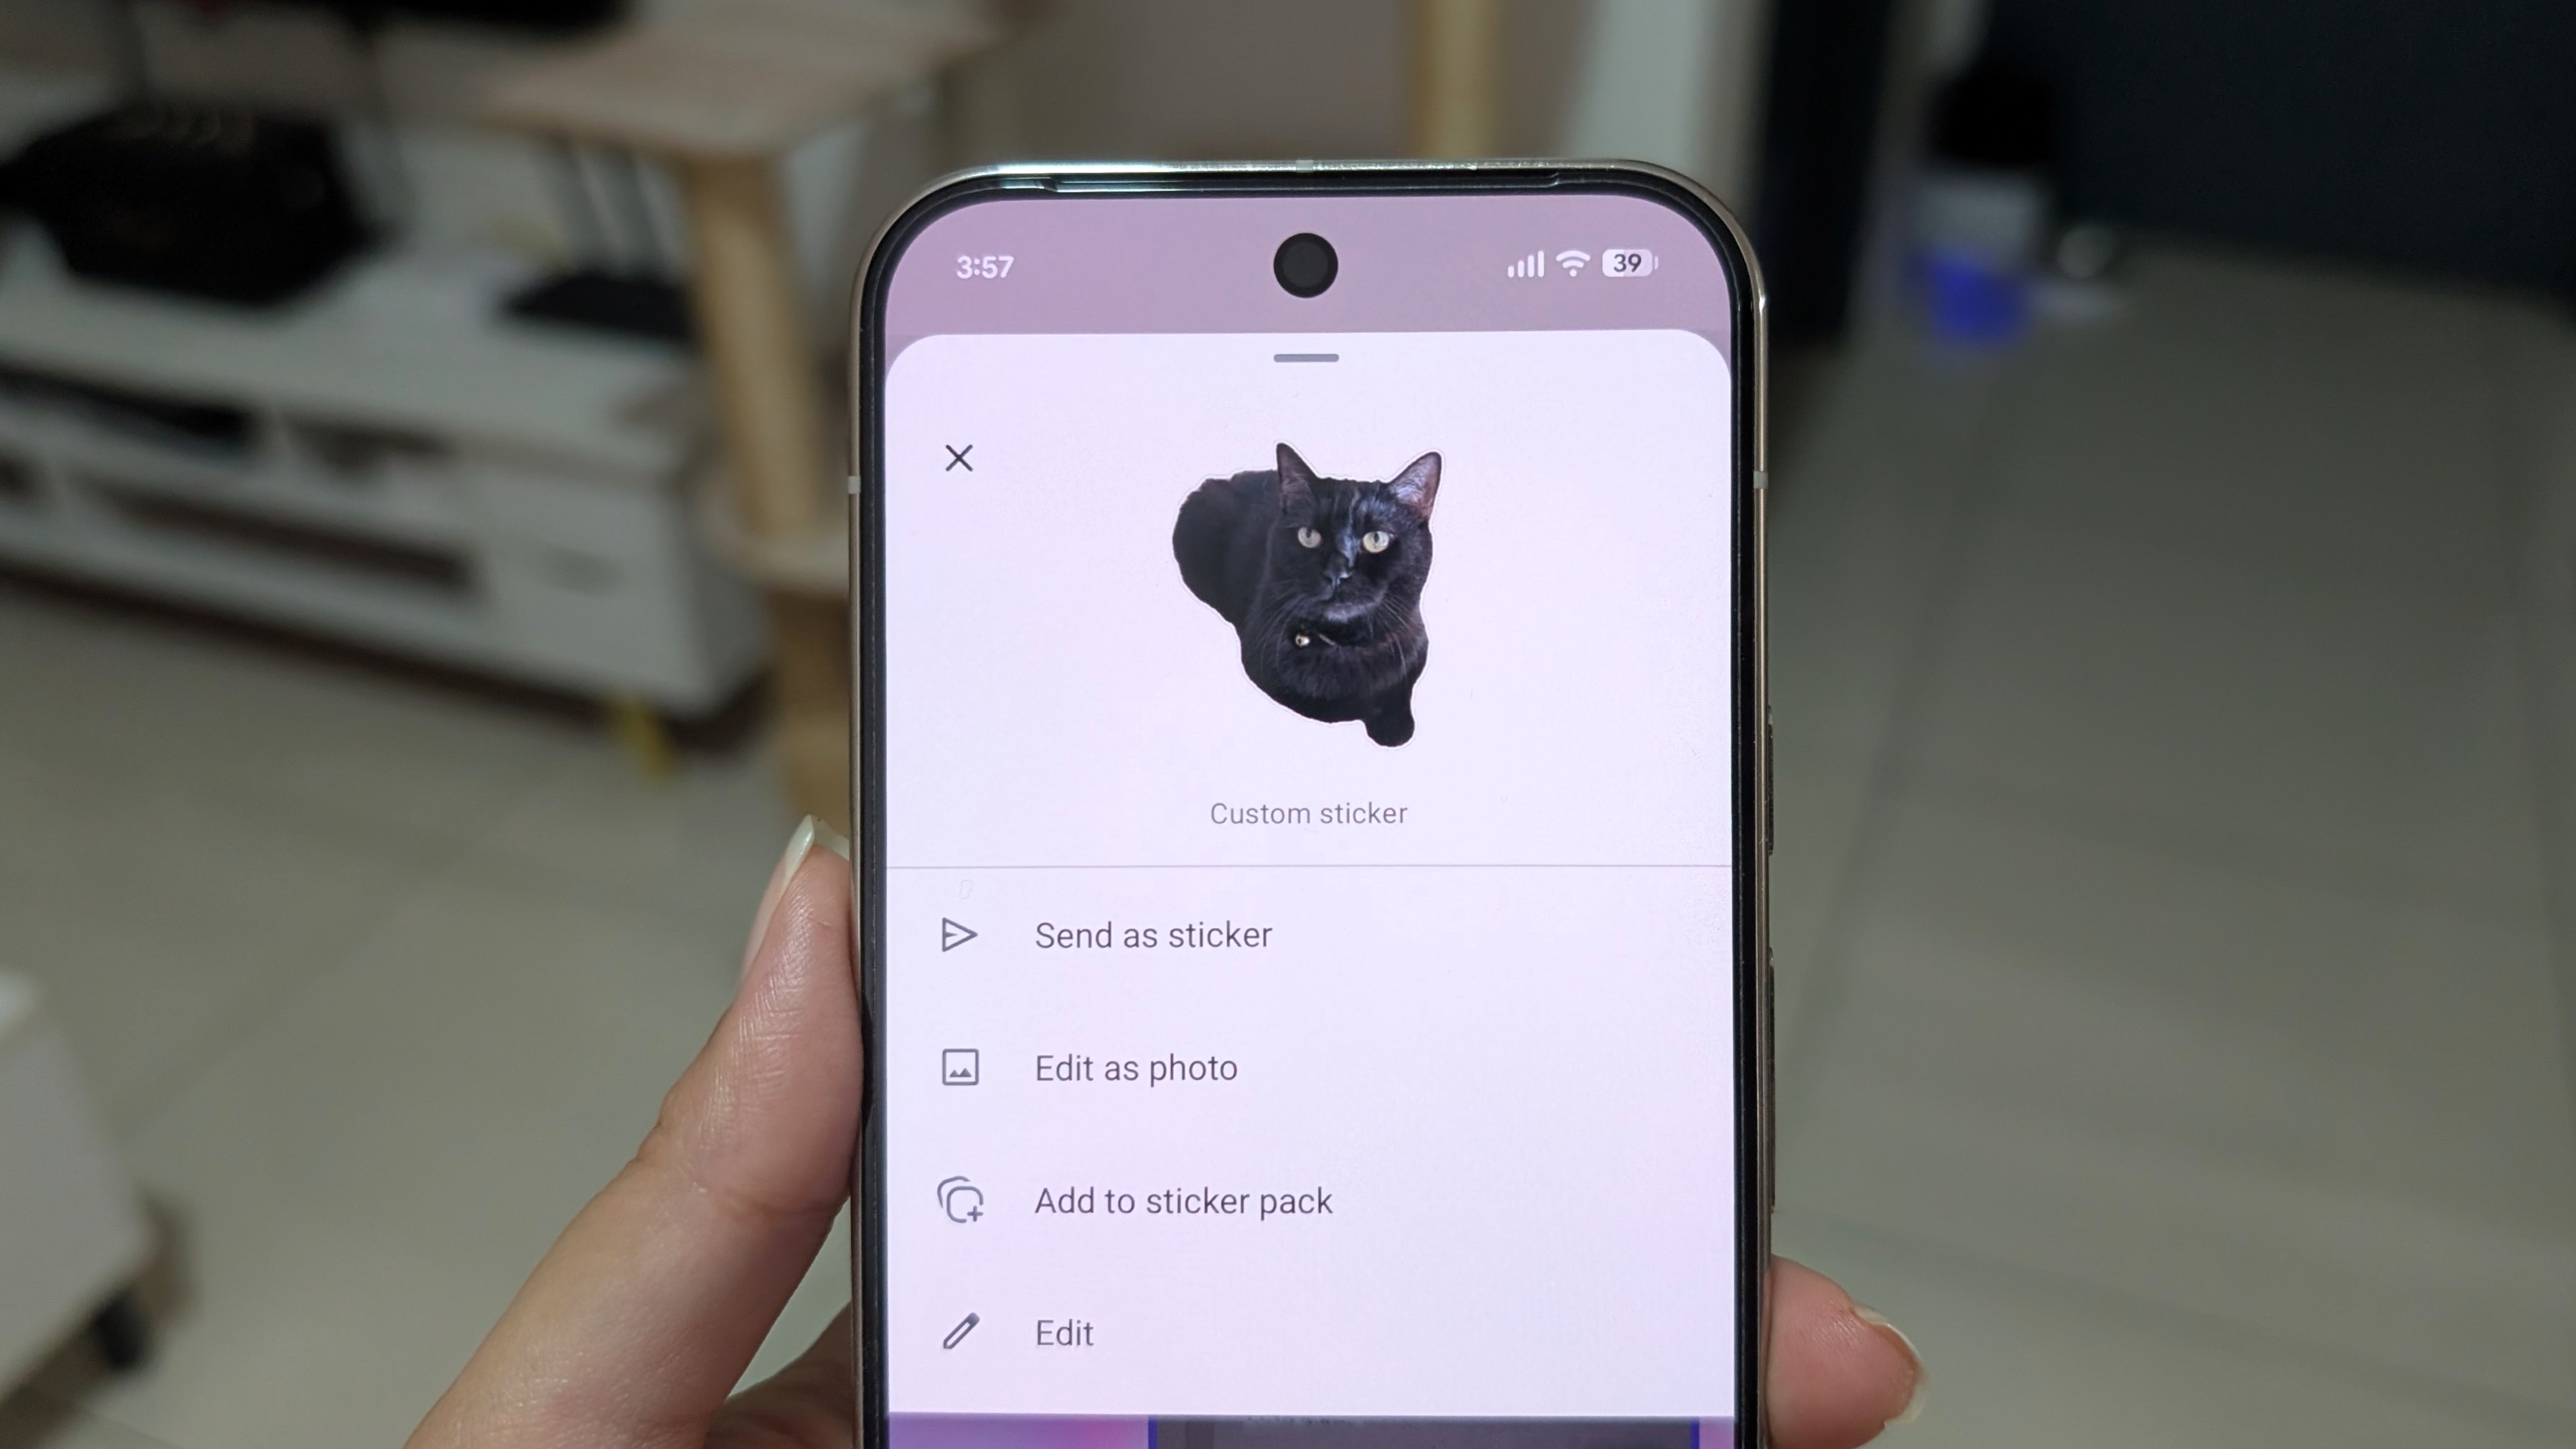
Although we can no longer use Pixel Studio to reimagine our photos into fun stickers or simply create basic ones, there are plenty of alternatives to do so.
The simplest way to access the same image-generation feature Pixel Studio had is to open Gemini. Attach the picture you want to turn into a sticker, give Gemini the instructions, and it'll spit out what you need. However, the result will be a picture with an opaque background.
WhatsApp users will find that creating stickers in the app is child's play. Simply select the stickers option in the app, then tap the "create sticker" button to convert any image from your photo gallery into a sticker. There's no AI reimagination feature, however, so you'll have to rely on AI like Gemini for that.
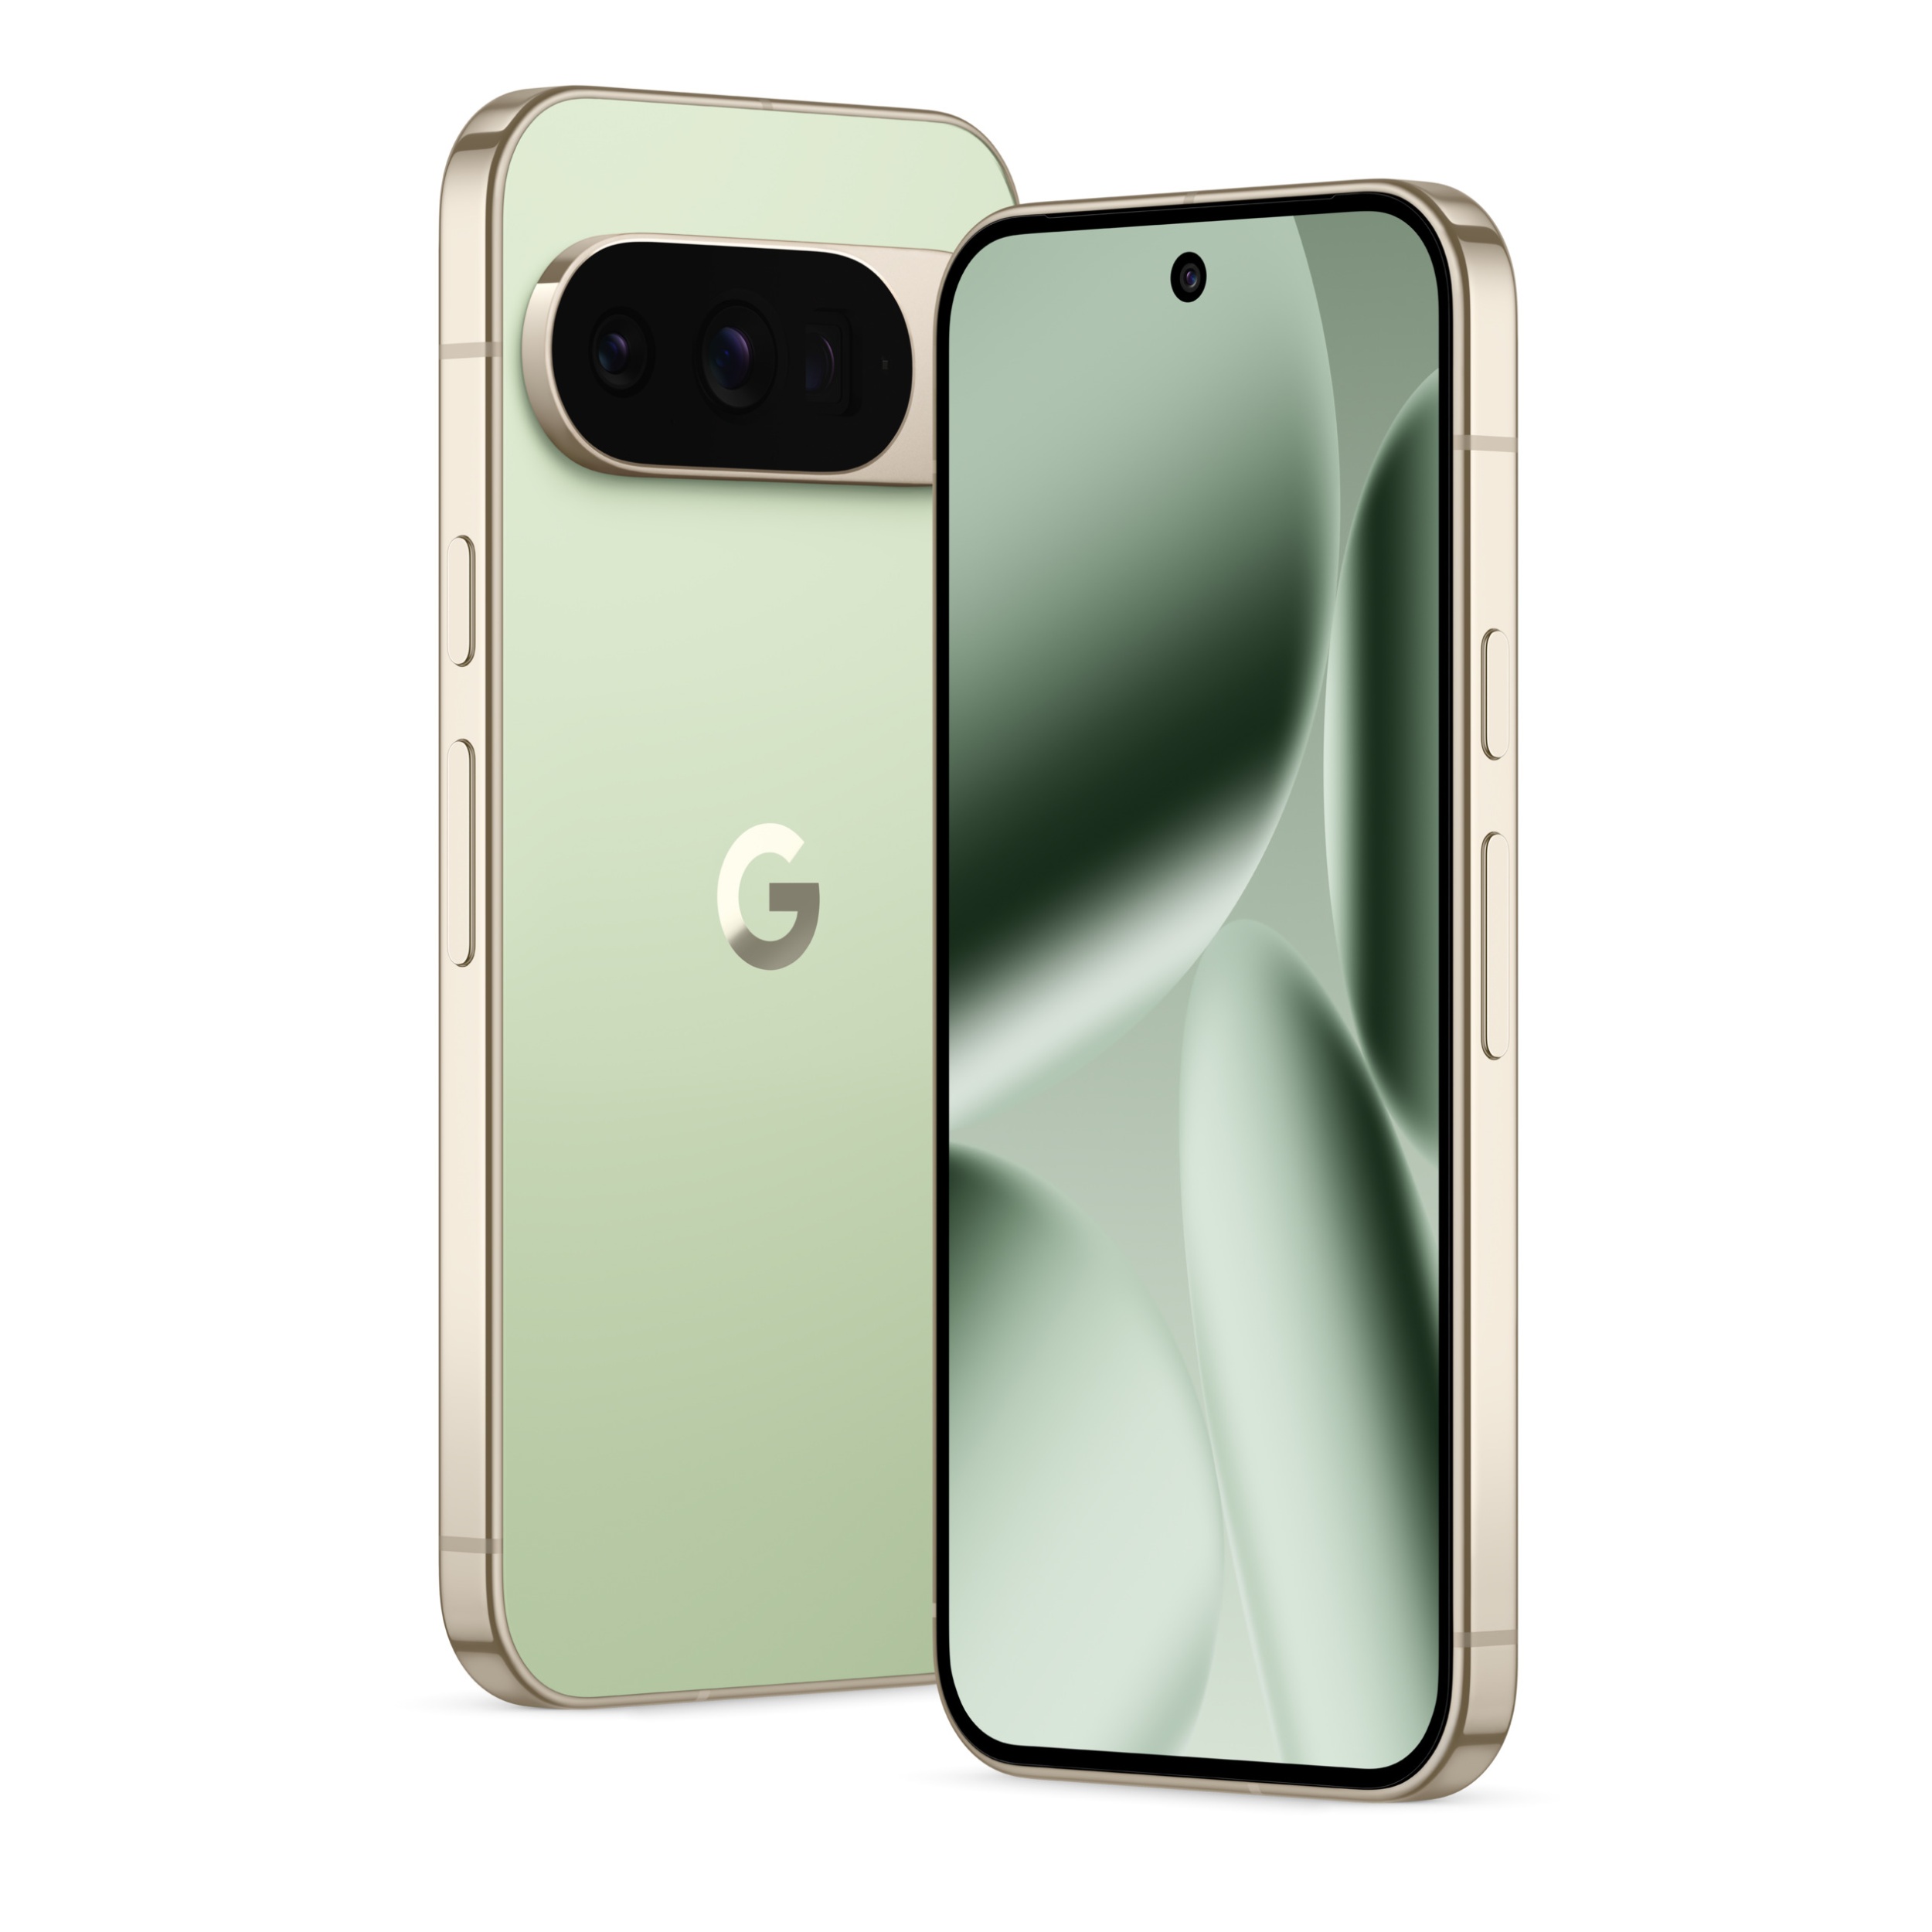
The smartest Pixel
The Google Pixel 10 Pro strikes the perfect balance between a small, easy to use one-handed phone, as well top-tier flagship performance. Equipped with AI smarts and stunning cameras, this is the smartest Pixel for just about anybody.